 Skip to content

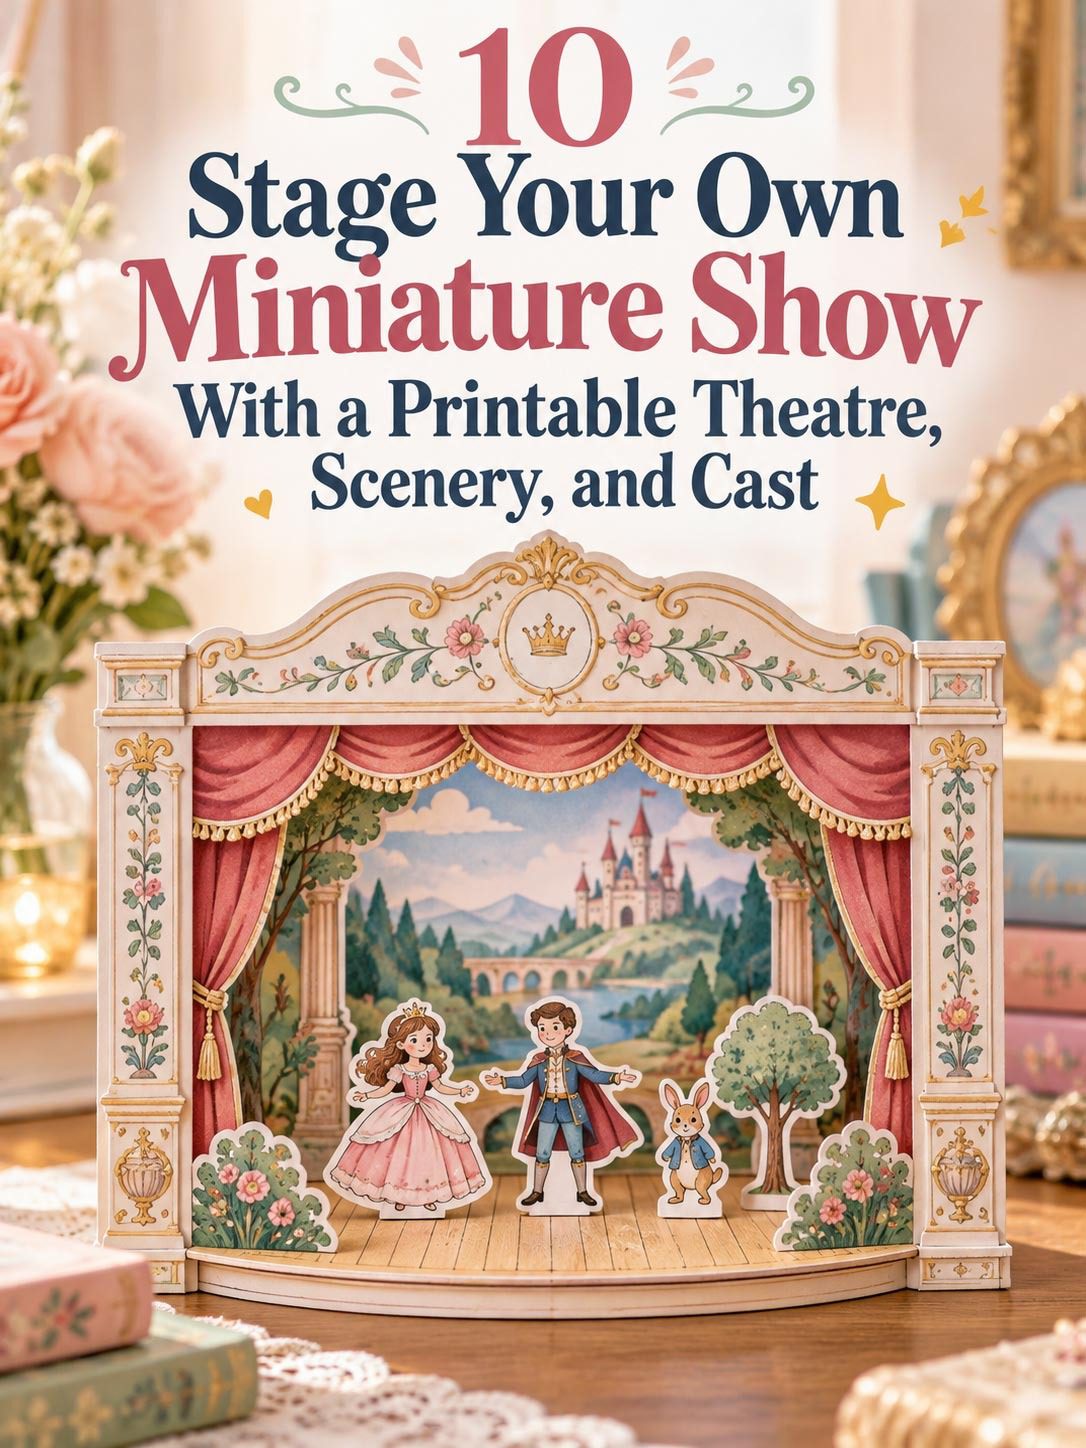

A printable paper theatre is one of those projects that sits at the exact meeting point of craft, storytelling, and play — and it costs almost nothing to make. The tradition of paper theatres goes back to nineteenth century Europe, when printed toy theatre sheets were sold in stationery shops for children and adults alike. Today the same idea translates perfectly to a home printer and an afternoon of cutting and assembling. Whether you are making one with children, building a display piece for a shelf, or creating a theatrical prop for a photography project, a miniature paper theatre gives you a complete world in a box. This guide covers 10 essential elements of staging your own miniature show — from building the theatre structure to populating it with characters, scenery, and props.
1. Building the Proscenium Arch Theatre Structure
The proscenium arch is the frame that defines the theatre — it is what separates the audience world from the stage world and gives your miniature show its theatrical identity.
Download a free printable toy theatre template. Several are available from print-and-play resources, including the Pollock’s Toy Museum website which offers downloadable historical designs. Print on card stock rather than standard paper — card holds its shape when folded and cut.

Score all fold lines with a bone folder or the back of a butter knife before folding. Scored folds are crisper and more precise than unscored ones — critical for a structure that needs to stand upright.
Cut the stage opening first using a craft knife and cutting mat. A steel ruler guides straight cuts along the top and sides of the stage opening.
Assemble the arch by folding the side flaps backward to create supporting wings. These wings sit at 90 degrees to the front arch, forming the sides of your stage.
Add a horizontal shelf across the back of the wings at floor level — this is the stage floor where your characters will stand.
Budget Tip
Print the theatre sheet at the largest size your printer allows — A3 if possible, A4 if not. Card stock from a craft store is inexpensive. A complete theatre structure can be printed and assembled for under two dollars in materials. Laminate the front arch piece for extra durability if the theatre will be used repeatedly.
2. Printing and Preparing Interchangeable Backdrops
A backdrop is the painted scene at the back of the stage — it tells the audience where the story is happening and changes the entire mood of the performance with a single swap.
Design your backdrops at exactly the width and height of your stage opening. Measure the opening carefully before designing so each backdrop slots in without gaps or overhang.

Design backdrops in layers — a far-distance sky and landscape painted very lightly, a mid-distance tree line or architecture in slightly more detail, and a foreground suggestion at the very bottom edge. This layered approach creates the illusion of depth within a flat printed image.
Use free illustration tools like Canva or Google Slides to build backdrop designs from layered elements. Or paint backdrops by hand using watercolor on pre-cut card — watercolor produces a beautiful, slightly translucent quality that suits stage scenery well.
Print multiple backdrops and store them flat. Swap between scenes by sliding the current backdrop out from behind the arch and sliding a new one in.
Budget Tip
Six different backdrop scenes printed on standard card stock cost only the price of the card and the printer ink. A varied backdrop set allows you to stage many different stories with the same physical theatre. Watercolor backdrops hand-painted by children add a personal quality no printed backdrop achieves.
3. Creating a Standing Cast of Characters
A standing cast of printed characters gives your miniature theatre a company of performers who can be moved around the stage, placed in different positions, and swapped between scenes.
Print character illustrations on card stock. Cut each figure carefully around the outer silhouette — small nail scissors or a fine craft knife work best for curved body shapes and detailed costume elements.

Mount each figure on a small folded card base to make it freestanding. Cut a rectangle of card, fold it in half, and glue one half flat to the back of the figure at the feet. The other half folds out as a stand. The figure stands independently on any flat surface.
Alternatively, cut a small slit in the stage floor and insert a thin card strip — the strip slides through the slit and the figure rides on the end above the stage, manipulated from below in the classic toy theatre tradition.
Design or download characters that suit your chosen story — fairy tale characters, historical figures, fantasy creatures, or contemporary people.
Budget Tip
Free character illustration sets are available from print-and-play game sites, historical toy theatre archives, and children’s educational resource sites. Many are in the public domain and freely downloadable. Design your own characters using simple illustration tools if you want a completely custom cast.
4. Designing Layered Side Wings for Stage Depth
Side wings are the vertical panels at the left and right edges of the stage that mask the offstage area and create the illusion of depth — they are one of the key elements that make a paper theatre look genuinely theatrical rather than just flat.
Print or paint three pairs of wings in progressively smaller sizes — the first pair at full stage height, the second pair slightly smaller, the third pair smaller still. Position each pair slightly further upstage than the previous one.

Each wing shows the same scene element getting smaller with apparent distance — a row of trees where each tree is narrower and shorter as it recedes, or a series of palace columns decreasing in size from front to back.
Cut slots in the stage floor for the wing bases to slot into, or glue small card stands to each wing. Position the wings symmetrically on both sides.
The foreground wings are the most detailed. The rearmost wings are the most loosely painted — distant elements have less visual definition than near ones.
Budget Tip
Wings can be hand-painted more effectively than backdrops because they are narrow vertical strips — a manageable size for painting with children or beginners. One sheet of card stock per pair covers the material cost. A complete six-wing set costs under one dollar in materials.
5. Making Cut-Out Paper Props and Furniture
Props and furniture give your stage set a sense of inhabitation — a throne suggests royalty, a cauldron suggests witchcraft, a dining table suggests a feast scene without any dialogue needed.
Design props at a scale that suits your character figures. If your figures are 10cm tall, a chair should be about 4–5cm tall. Consistent scale is what makes a stage set read convincingly.

Print props on card stock rather than paper — props get handled and moved, and card holds its shape better than paper under repeated handling.
Create simple fold-out bases for each prop the same way as character figures — a folded card strip glued to the back allows any prop to stand independently on the stage floor.
Props that work well at small scale: chairs, thrones, cauldrons, tables, barrels, treasure chests, candelabras, clocks, mirrors, and doors.
Design two versions of significant props — one whole and one showing a dramatic change. A whole vase and a shattered vase, a lit candelabra and an extinguished one.
Budget Tip
Prop illustrations for toy theatres are widely available in the public domain — search vintage toy theatre props or Victorian toy theatre accessories for free downloadable sheets. Print on card and cut out a full prop collection in a single session. Store flat in an envelope organized by scene.
6. Adding Simple Lighting Effects With LEDs
Lighting transforms a paper theatre from a static display into something genuinely theatrical — even a single small LED changes how the whole scene reads when the room is slightly dimmed.
The simplest theatrical lighting effect is a battery LED tealight placed inside the theatre box behind the stage. The warm glow fills the stage with light that looks completely different from ordinary room light.

Cut a small circular hole in the stage ceiling or backdrop and cover the hole with colored tissue paper — yellow for warm candle light, blue for moonlight, red for dramatic firelight. The LED shines through the tissue paper in the tinted color.
For star effects, pierce small holes in a dark backdrop using a pin. The LED shining through the pinprick holes creates a convincing night sky on the flat card surface.
Switch between LED colors by replacing the tissue paper covering — change from warm white to deep blue to suggest day transitioning to night during a performance.
Budget Tip
Battery LED tealights cost almost nothing in multi-packs. Colored tissue paper is inexpensive and gives four or five different lighting colors from a single pack. The combination of a paper theatre and even a single LED creates a genuinely magical atmosphere for a child’s bedtime story performance.
7. Writing and Printing a Performance Script
A written script gives your miniature theatre show a structure — it determines how long the performance runs, which characters appear in which scenes, and what backdrop and props each scene requires.
A good paper theatre script has five scenes maximum for a short home performance. Each scene corresponds to one backdrop and one set of wing configurations. Five scenes means five backdrop swaps — manageable for one or two operators.

Write stage directions into the script in a different color from the dialogue. Stage directions tell the operator when to move characters, which direction they enter from, and when to swap backdrops.
Format the script like a real theatre script — character name in capitals above each line of dialogue. This makes it easy to follow during a live performance when you are simultaneously speaking and moving characters.
Include a simple cast list and scene breakdown at the beginning so anyone picking up the script can understand the full structure at a glance.
Budget Tip
Print the script in a small booklet format — fold A4 sheets in half and staple along the fold line. A four-page A5 booklet holds a complete short script comfortably. This printed script becomes part of the theatre kit and can be stored inside the theatre box for future performances.
8. Performing Scene Changes and Transitions
Scene changes in a paper theatre are part of the spectacle — the audience watches the world of the story transform in front of them, which is something a screen performance can never replicate.
Practice each scene change before performing for an audience. The mechanics of sliding out one backdrop, sliding in a new one, repositioning characters, and swapping wing pairs takes coordination that improves significantly with rehearsal.

The classic toy theatre method uses a long stick — a skewer, a ruler, or a thin dowel — to push characters on from the side wings rather than reaching over the stage. This keeps the operator’s hands below the sight line of the audience.
Designate one person as the backdrop operator and one as the character operator for performances with two people. The backdrop operator handles all scenery changes while the character operator focuses on moving figures and delivering dialogue.
A simple curtain — a fabric strip or paper panel that drops from the top of the arch — can mask scene changes if desired. Drop the curtain, change the scene, raise it again.
Budget Tip
A skewer from the kitchen drawer is the only additional tool needed for puppet manipulation. Practice sessions before the live performance make the final show run smoothly. Three rehearsals of a five-scene show is usually enough to iron out the coordination issues.
9. Adapting the Theatre for Shadow Puppet Performance
A paper theatre can be converted into a shadow puppet theatre by replacing the backdrop with a translucent screen and positioning the light source behind it — the characters become silhouettes rather than illustrated figures.
Replace the stage backdrop with a sheet of white tissue paper or thin white fabric stretched across the stage opening. Tape it taut — a wrinkled screen distorts the shadow shapes.

Position a battery LED directly behind the screen as close as possible to the center. The closer the light source to the center of the screen, the sharper and more defined the shadow outlines.
Cut shadow puppet figures from black card stock — strong, graphic silhouettes without internal color detail. Attach each figure to a thin skewer or wire handle that extends downward out of the audience’s view.
Hold shadow figures between the light source and the screen at different distances. Close to the screen produces a sharp, defined shadow. Further from the screen produces a softer, larger shadow.
Budget Tip
Black card stock is inexpensive. The shadow puppet adaptation requires no printing at all — shapes are cut freehand from black card. This version is more accessible for very young children as puppet operators since the manipulation is simpler than moving small standing figures on a stage floor.
10. Packaging the Complete Theatre Kit for Gifting or Storage
A complete paper theatre kit — theatre, backdrops, characters, props, and script — packed and organized for easy storage and transport is one of the most thoughtful and personal handmade gifts possible.
Store the assembled kit flat in a large envelope or portfolio folder. The theatre arch folds flat when the side wings are folded inward. Backdrops stack flat. Characters and props are stored in small labeled envelopes inside the main folder.

Label each envelope clearly — Characters, Scene 1 Props, Scene 2 Props, Backdrops — so the kit can be unpacked and set up by anyone without prior knowledge of the system.
Include the printed script in the folder alongside the physical components.
Print a simple instruction sheet explaining how to assemble the theatre, how to operate the scene changes, and how to use the script. A one-page illustrated guide is all that is needed.
If gifting, present the whole kit in a kraft paper envelope sealed with a wax stamp or ribbon. The presentation matches the theatrical, handmade quality of the contents.
Budget Tip
A large A3 kraft envelope costs pennies. Smaller coin envelopes for sorting characters and props are cheap in bulk. The entire kit — theatre, backdrops, characters, props, script, and instructions — fits into a flat envelope that costs almost nothing to post or give in person. The complete material cost of a fully assembled gift kit is under five dollars.
Conclusion
A printable paper theatre is genuinely more than a craft project — it is a complete storytelling system that a child or adult can set up, perform with, and return to again and again. The ten elements covered in this guide — from building the proscenium arch and preparing interchangeable backdrops to writing a script, adding lighting, and packaging the kit for gifting — give you everything needed to stage a real miniature show from scratch. The materials cost almost nothing. The printing takes under an hour. The assembly is manageable in an afternoon. And once the theatre is built, it can be used for dozens of different stories by simply swapping the backdrops, the cast, and the props. Start with a single backdrop and a small cast, perform one short show, and see how much imagination a paper box with a lamp inside can hold. The answer will surprise you.



