 Skip to content

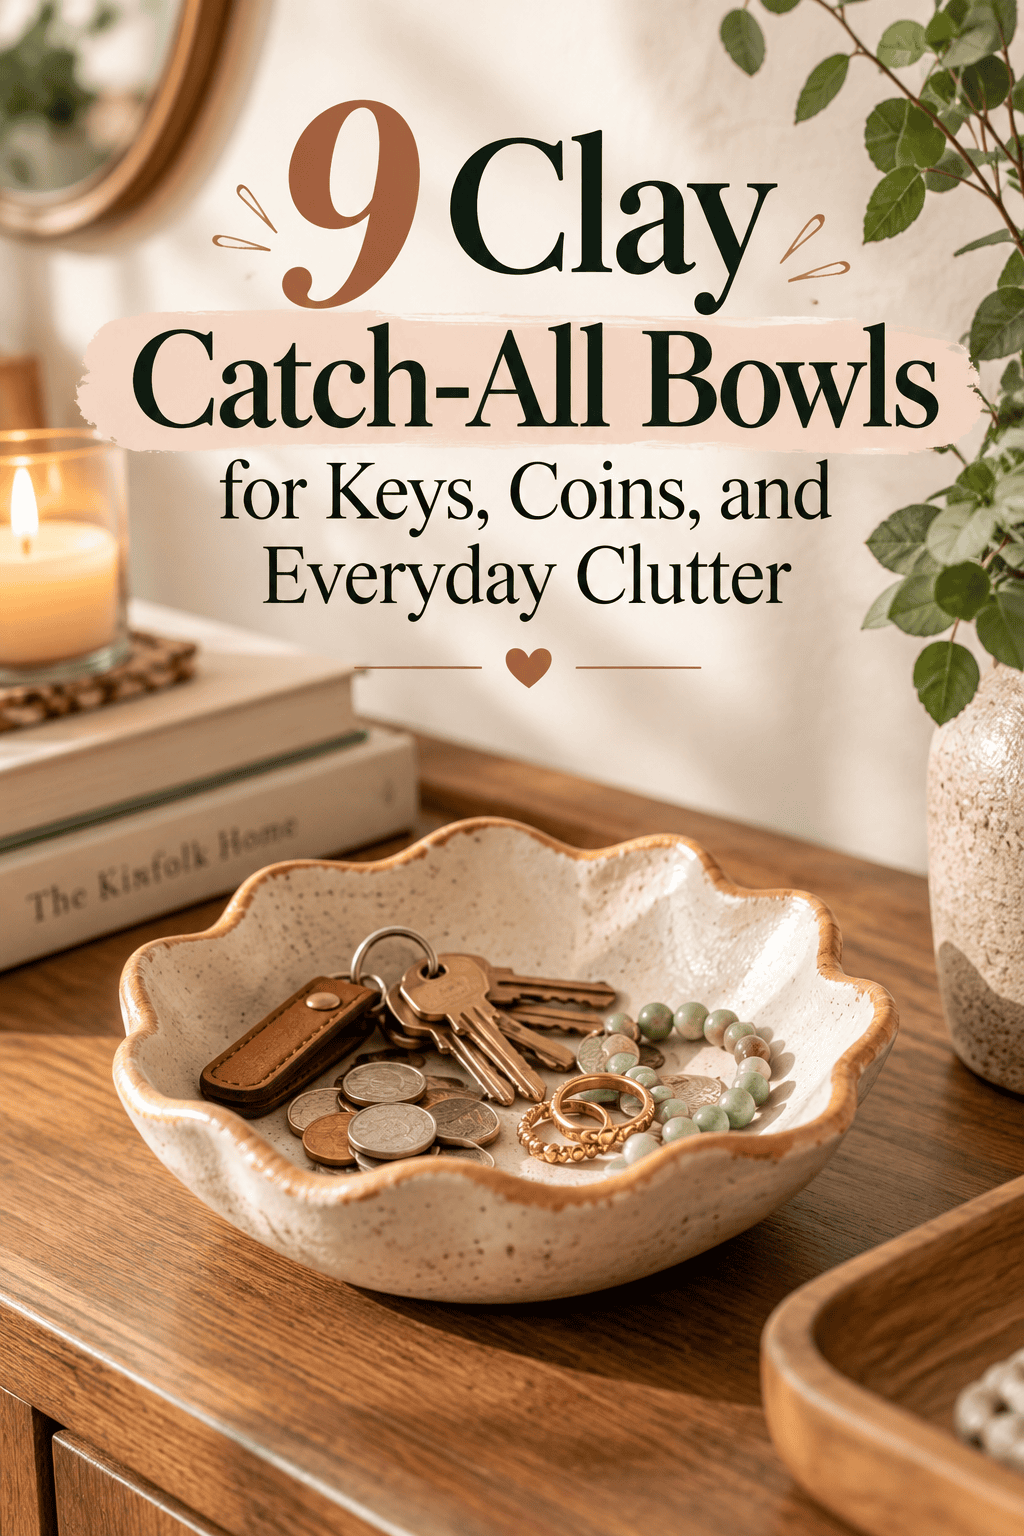

Everyone has a spot in their home where small things land at the end of the day — keys, coins, hair ties, lip balm, and whatever else comes out of pockets and bags. A handmade clay catch-all bowl gives that spot a shape it can be proud of. Unlike a plastic tray or a repurposed dish, a clay bowl you made yourself has personality, fits your home’s aesthetic exactly, and costs almost nothing to produce. These bowls are one of the most practical and satisfying clay projects for beginners and experienced makers alike. This guide covers 9 creative clay catch-all bowl designs — each one shaped, decorated, and finished to suit a different home style and daily routine.
1. Classic Pinch Pot Entry Bowl
A wide, shallow pinch pot is the most honest catch-all bowl you can make — every thumb impression in the exterior wall is a record of how it was built.
Take a large ball of clay. Push both thumbs into the center simultaneously. Pinch and rotate the clay outward, building the walls wider and lower rather than taller. A wide, shallow bowl holds keys and coins far more practically than a tall narrow one.

Work the walls to an even thickness of about 6–7mm. Thinner walls crack when keys drop into the bowl. Thicker walls feel heavy and solid — exactly the quality a good catch-all bowl should have.
Let the finger impressions remain on the exterior. Smooth only the interior base so keys and coins lie flat without rocking.
Flatten the base slightly by pressing the bowl down onto a smooth tile while still soft. A flat base prevents the bowl from rocking on a shelf or table surface.
Bake or air-dry. Seal the interior with matte or gloss varnish.
Budget Tip
A pinch pot uses only your hands and one ball of clay. No tools, no molds, no specialty equipment. Air-dry clay is the most affordable option for a bowl this size. The organic, handmade quality of a pinch pot is exactly what makes it appealing as a home accessory.
2. Faceted Geometric Bowl
A faceted catch-all bowl looks like a polished gemstone sitting on your surface — the flat angled planes catch light differently as you move around the room.
Form a rounded bowl shape using a mold or by hand. While the clay is still soft, press a flat tool — a ruler edge, flat clay rib, or straight craft knife blade — firmly against the exterior walls at regular intervals to create flat facet planes.

Press each facet firmly and cleanly in one stroke. Hesitant or repeated pressing creates dented rather than clean flat planes. Confidence in each press is what makes the facets sharp.
Work around the full exterior, creating 8–10 flat faces that meet at angular ridges. The interior of the bowl remains smooth and curved — the faceting only affects the outer wall surface.
Bake. Paint in deep matte navy, forest green, or charcoal. The matte finish emphasizes the angular geometry without the distraction of gloss reflection.
Dry-brush a small amount of metallic paint along the ridge lines where facets meet — this highlights the geometric structure and creates a polished gemstone illusion.
Budget Tip
Faceted bowls require no special molds or cutters. A flat-edged ruler pressed against soft clay is the entire technique. The sophisticated result justifies a higher price point at craft markets compared to simpler bowl forms.
3. Marbled Terracotta and Cream Bowl
A marbled catch-all bowl in terracotta and cream looks like it came from an expensive ceramics studio — but it is made from two affordable clay colors and one simple technique.
Take terracotta-toned clay and cream clay. Roll each into a log of equal length. Twist the two logs together loosely. Fold once. Stop mixing immediately when you see clear swirling streaks. Over-mixing turns the colors muddy rather than marbled.

Press the marbled clay over a bowl-shaped mold — a ceramic bowl from your kitchen works perfectly as a press mold. Press the clay evenly across the interior surface of the mold to create a consistent wall thickness.
Trim the rim cleanly with a craft knife. Remove from the mold after the clay has firmed slightly — usually 15–20 minutes for polymer clay.
Bake on the mold or on a flat tile with the bowl right-side up.
Seal with gloss varnish for a ceramic-like finish.
Budget Tip
A ceramic bowl from your kitchen costs nothing to use as a mold. Press a thin sheet of cling film against the mold interior first to prevent the clay from sticking. The marbled effect uses less clay than a solid-colored bowl since the swirling creates visual volume that solid color does not.
4. Botanical Pressed Leaf Bowl
A catch-all bowl with full botanical leaf texture pressed across the exterior walls looks like hand-thrown studio pottery — and the texture is made entirely by pressing real garden leaves into the clay.
Press a flat clay slab over a bowl mold to create the basic bowl form. While the clay is still on the mold and slightly soft, press large leaves from your garden firmly against the exterior wall surface.

Roll lightly over the leaf with a smooth roller to press the full leaf surface — including every vein and leaflet — into the clay. The more contact between leaf and clay, the more detailed the transferred texture.
Peel each leaf away slowly. Slightly overlapping leaf impressions across the full exterior wall create a lush, all-over botanical pattern.
Remove from the mold once firm. Trim the rim. Bake.
The natural cream or light clay color suits this design without paint. Brush gold or pearl mica powder across the exterior surface before baking — the mica settles into the vein lines and makes every impression glow.
Budget Tip
Large garden leaves create the best impressions — hostas, maple leaves, and tropical houseplant leaves all transfer beautifully. The leaves are free. The result looks like a high-end artisan ceramic piece that sells well above its material cost.
5. Square Minimalist Tray Bowl
A square catch-all with softly rounded interior corners suits minimalist and modern home interiors — it looks organized and intentional on any surface it sits on.
Roll a thick clay slab. Cut a clean square using a ruler and craft knife. Cut all four sides precisely — uneven sides are immediately obvious in a geometric form and undermine the minimal aesthetic.

Lift the sides of the square slab gently upward using your fingers or folded pieces of card propped under each edge. You only need about 2–3cm of wall height for a practical catch-all. A very low wall height suits keys and flat items. A slightly higher wall contains coins and small items better.
Smooth the interior base completely flat. Smooth the interior corners so objects do not catch on rough joins.
Press a thin clay log around the exterior just below the rim as a single decorative line detail. Press it firmly so it integrates with the wall.
Bake flat. Sand the base so it sits completely level. Seal with matte white paint and a flat varnish.
Budget Tip
A square form uses less clay than a round bowl of equivalent interior volume because there are no curved walls. The clean geometry makes surface quality matter more — sand the exterior smooth after baking for a refined finish.
6. Open Flower Petal Bowl
A catch-all bowl shaped like a large open flower is one of the most popular designs for dressing tables, bathroom shelves, and bedroom nightstands.
Roll a thick clay slab. Cut a large circle. Mark six equal petal sections around the circle edge using a needle tool — like cutting a pie into six equal slices but only marking, not cutting through.

Between each marked section, cut a V-shaped notch from the outer edge inward about 2–3cm. This separates the six petal sections along the outer edge of the circle.
Gently curve each petal section upward to form the bowl walls. The center of the circle stays flat as the bowl base. The six curved petals become the sides.
Each petal curves slightly inward at the tip — press each tip gently with a finger to give it a natural petal curl.
Bake over a round bowl mold that supports the curved petals from below during baking.
Paint in blush pink with slightly deeper pink dry-brushed onto the petal tips.
Budget Tip
Blush pink and white clay are affordable and widely available. The flower bowl shape makes excellent use of a single flat clay slab with minimal waste. The petal form is immediately appealing to buyers and suits gift shop displays very well.
7. Woven Basket Texture Bowl
A catch-all bowl with a woven basket texture exterior suits boho, coastal, and natural home interiors — and the texture is pressed into the clay rather than actually woven.
Press a clay slab over a round bowl mold. While still on the mold, press a piece of open-weave fabric — burlap, coarse linen, or wicker mesh — firmly against the exterior wall surface.

Press the fabric firmly across the full exterior so the weave pattern transfers completely and evenly. Run a smooth roller over the fabric surface to press every thread impression into the clay.
Peel the fabric away carefully. The crosshatch weave pattern remains on the clay surface — a convincing basket texture that required no weaving at all.
Trim the rim. Remove from the mold once firm. Bake.
In natural sandy clay tones, the woven texture looks remarkably like real basketwork. No paint is needed — the natural clay color suits the woven aesthetic perfectly.
Seal with matte varnish.
Budget Tip
Burlap fabric scraps cost almost nothing and create excellent weave impressions in clay. A small square of burlap textures many bowls across multiple projects. The woven basket bowl suits a wide range of home interiors and is one of the most recognizable catch-all bowl designs for online product photography.
8. Two-Tone Color Block Bowl
A two-tone catch-all bowl — one strong color on the exterior, clean white on the interior — creates a bold, design-forward object that looks expensive despite being simple to make.
Make your bowl using the press mold method over a round ceramic bowl. Use your chosen exterior color clay for the walls.

Roll a thin sheet of white clay separately and press it inside the bowl as a liner layer while the exterior clay is still on the mold. Press the white liner firmly against the interior surface so the two layers bond together without air gaps between them.
Trim both layers together at the rim so the edge shows a clean two-tone cross-section — dark exterior, white interior — visible when you look at the rim from above.
Bake together. The two layers fuse during baking into a single solid piece.
No paint needed — the two clay colors are the entire design.
Seal only the interior with gloss varnish to make the white interior easy to wipe clean.
Budget Tip
Deep indigo, forest green, and charcoal are the most effective exterior colors for a two-tone bowl — they maximize the contrast with the white interior. Two clay colors are all the material this design requires. The clean color blocking photographs extremely well for product listings and social media.
9. Crumpled Foil Texture Bowl
A clay bowl textured by pressing crumpled aluminum foil against the exterior wall creates a surface of thousands of tiny random facets — no two bowls ever look identical.
Form a clay bowl using a press mold. While the clay is still soft on the mold, take a piece of crumpled aluminum foil — scrunch it firmly into a rough ball, then partially open it so the crumpled surface is accessible.

Press the crumpled foil firmly and repeatedly across the full exterior wall using a light rolling and pressing motion. The irregular foil surface creates thousands of tiny random impressed facets across the clay.
Move the foil constantly as you work — pressing the same area twice with the same foil orientation creates a repeated pattern rather than random texture. Constant movement keeps the texture genuinely random.
Trim the rim. Remove from the mold when firm. Bake.
In warm golden ochre or copper clay tones, the random facet texture looks like hammered metal. Paint with metallic gold or copper acrylic and dry-brush with a darker tone for depth.
Seal with gloss varnish for a metallic sheen.
Budget Tip
Aluminum foil is in every kitchen drawer — this texture technique costs nothing beyond the clay itself. The random quality of the texture means every single bowl is unique, which is a genuine selling point. No two are ever identical, and buyers at handmade markets respond strongly to that individuality.
Conclusion
A handmade clay catch-all bowl is one of the simplest and most rewarding clay projects you can make — and once you have one sitting beside your front door or on your bedside table, you will wonder how you managed the daily pile of small objects without it. The 9 designs in this guide cover a broad range of aesthetics, techniques, and skill levels — from the beginner-friendly pinch pot to the more designed faceted geometric and two-tone color block forms. Pick the design that suits the room it will live in and the style you are drawn to most. Make your first bowl, place it where the clutter usually lands, and watch how a small handmade object quietly improves a corner of your home. Once you have made one, the next one goes faster. Pick up your clay and give your everyday clutter somewhere worth landing.



