 Skip to content

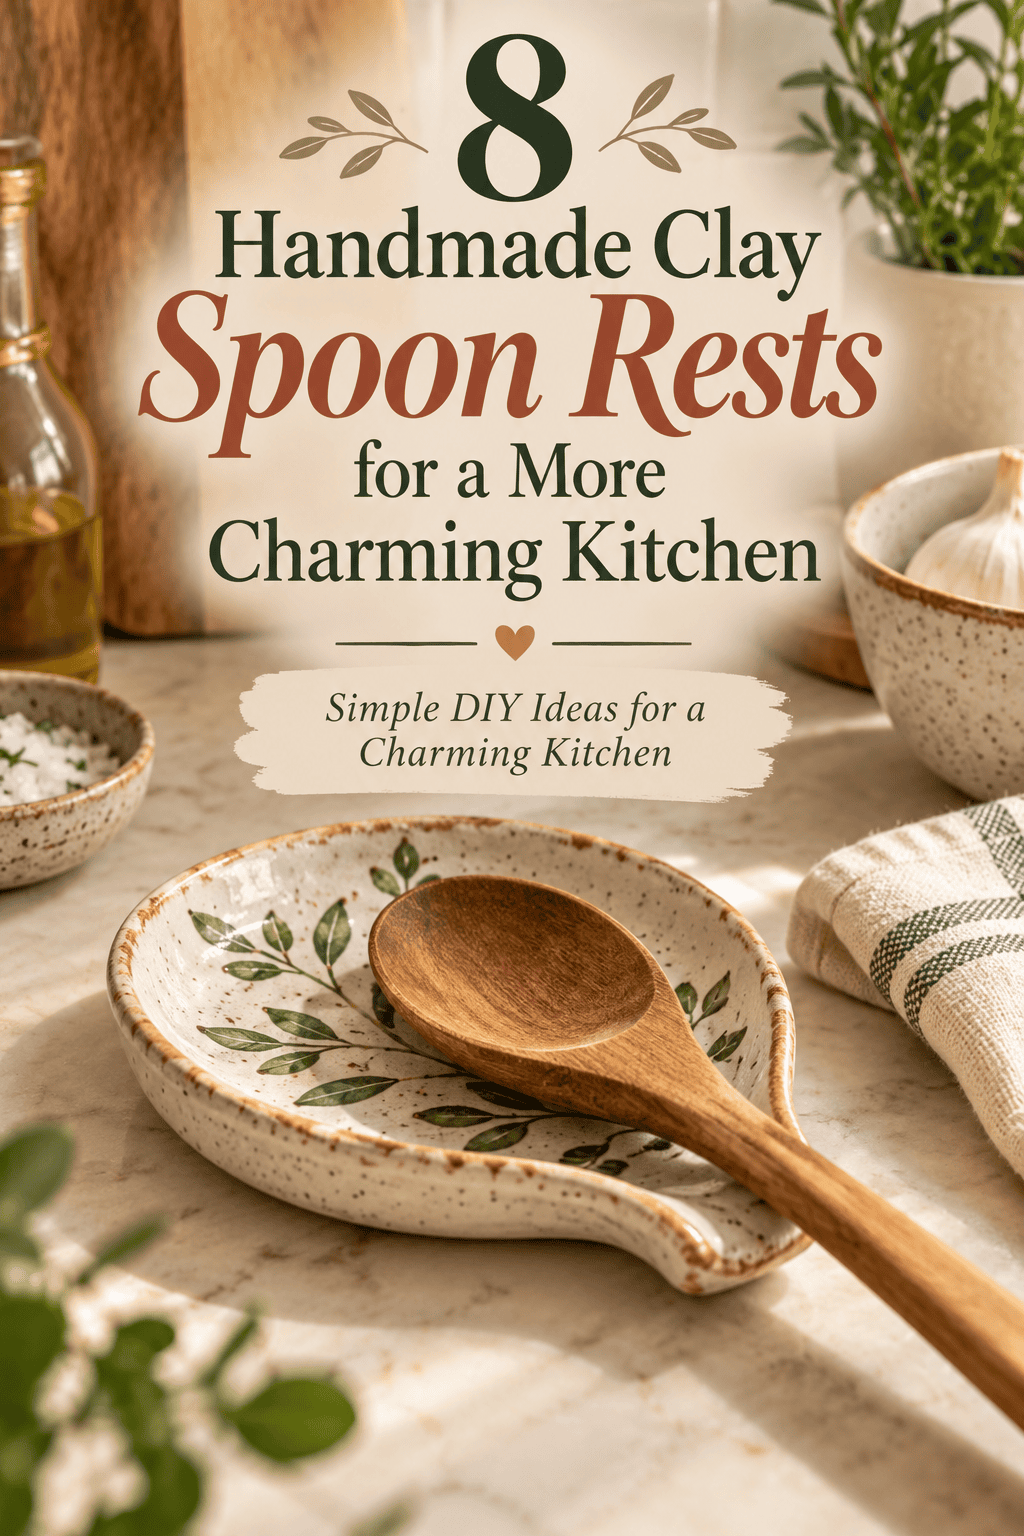

A spoon rest is one of those kitchen objects that sits out every single day — beside the stove, on the counter, in plain view during every cooking session. That makes it worth caring about. A handmade clay spoon rest costs almost nothing to make, takes under an hour from shaping to baking, and immediately makes a kitchen feel more considered and personal than anything from a kitchenware chain. They also make one of the most practical and universally appreciated handmade gifts. This guide covers 8 handmade clay spoon rest designs — each one functional enough for daily cooking use, beautiful enough to leave out permanently, and straightforward enough to make at any skill level.
1. Simple Oval Spoon Rest
The classic oval spoon rest is the most practical shape for everyday kitchen use — it holds any size spoon or ladle comfortably and sits flat on any surface.
Roll a thick clay slab about 1.5cm deep. Cut a generous oval shape — about 15cm long and 10cm wide. This size accommodates large ladles and wooden spoons without the handle hanging off the edge.

Press a shallow well into the center of the oval using your thumbs or the back of a spoon. The well should be about 5mm deep — deep enough to contain drips and sauce without being so deep that cleaning becomes difficult.
Raise the rim slightly by pressing upward from underneath around the outer edge. This low raised rim prevents liquid from running off the rest and onto the countertop.
Smooth all surfaces carefully — inside the well, the rim, and the base. A smooth interior surface is easier to wipe clean after cooking.
Flatten the base on a smooth tile to prevent any rocking.
Bake. Seal with food-safe waterproof resin or glaze — not basic craft varnish. The rest will contact food-stained utensils daily.
Budget Tip
Cream or white clay is the most affordable option. One standard block of air-dry or polymer clay makes three or four oval spoon rests. The food-safe sealer is the most important material investment — buy a proper food-safe resin rather than a craft varnish for any kitchen item.
2. Botanical Leaf Spoon Rest
A leaf-shaped spoon rest with pressed natural texture looks like something from an artisan ceramics shop — and it is made by pressing a real leaf directly into the clay surface.
Cut a large leaf shape from a flat clay slab. Use a real leaf as your template — press it lightly onto the clay surface to mark the outline, then cut around the impression with a craft knife.

Keep the pressed leaf on the clay surface while you work. Roll lightly over the leaf with a smooth roller to press every vein and leaflet detail into the clay surface. Then peel the leaf away.
The entire surface texture is transferred directly from the real leaf. No tool can replicate the detail of an actual botanical specimen pressed into soft clay.
Gently curve the leaf edges very slightly upward — just enough to create a shallow well that contains drips without losing the natural leaf silhouette.
Bake flat on a tile. Seal with food-safe resin.
Budget Tip
Large garden leaves work best — hostas, maple leaves, and large herb leaves all transfer beautifully. The leaves are free from your garden. Sage green paint applied after baking deepens the botanical quality of the piece. A set of three different leaf shapes makes an excellent gift set.
3. Character Face Spoon Rest
A face spoon rest where the open mouth forms the spoon well is one of the most photographed handmade kitchen items on social media — playful, functional, and instantly recognizable.
Roll a thick round clay disc — about 14cm in diameter and 1.5cm thick. This becomes the face.

Add two half-closed eye impressions using an oval tool or your fingertips. Press a small round nose ball into the center of the face.
The mouth is the functional element. Press a wide, deep open-mouth well into the lower half of the face — wide enough for a wooden spoon bowl to sit in, deep enough to contain sauce drips. The open mouth expression and the spoon well are the same shape.
Add two small ear shapes pressed onto the sides of the disc. Add rosy cheek circles using a ball stylus.
Keep all features bold and simple — a face that reads clearly from across a kitchen is more effective than one that requires close examination to understand.
Bake. Paint in warm peach tones. Seal with food-safe resin.
Budget Tip
The face rest uses one round clay disc — minimal material. These rests perform extremely well in product photography because the spoon-in-mouth image is genuinely funny and immediately shareable. They are consistent bestsellers at craft markets and in online handmade kitchen accessory shops.
4. Marbled Teal and Cream Spoon Rest
A marbled spoon rest looks like a piece of high-end kitchen ceramic — and it is made from two affordable clay colors using the simplest mixing technique in clay work.
Take deep teal clay and cream clay. Roll each into a log of equal length. Twist the two logs together loosely. Fold once. Stop immediately when clear swirling streaks appear. Over-mixing eliminates the marble pattern entirely — the moment the swirls look defined, stop and shape immediately.

Roll the marbled clay into a slab and cut an elongated oval shape. Press a shallow well into the center using the back of a spoon.
Work quickly — the marbled pattern looks most vivid while the clay is freshly mixed. Overhandling the clay after marbling muddies the colors.
Smooth the well and rim. Flatten the base on a tile.
Bake. No paint needed — the marbled clay color is the finished surface.
Seal with food-safe gloss resin for a ceramic-like surface.
Budget Tip
Deep teal and cream clay produce one of the most striking marbled combinations. Other excellent pairings include rust and cream, navy and white, and sage green and cream. Each marbled rest is unique because the swirls never repeat — every piece is genuinely one of a kind.
5. Terrazzo Pattern Spoon Rest
A terrazzo spoon rest looks like a high-design kitchen accessory — the kind of thing found in boutique kitchenware shops at a significant price point. Making one from clay costs almost nothing.
Start with a white or cream clay base rolled into a thick rectangular slab with softly rounded corners. Keep the rectangle about 16cm x 10cm — a practical size for most utensils.
Roll very thin logs of contrasting colors — black, rust, sage green, dusty pink. Cut these logs into tiny random fragments with a craft knife.
Press the fragments randomly across the cream clay surface with no pattern or spacing intention. The randomness is what creates authentic terrazzo — avoid any tendency toward even distribution.
Roll a smooth roller lightly over the surface to press the fragments flush with the base clay. Trim the rectangle edges cleanly.
Press a shallow well into the center. Raise the rim edge slightly.
Bake. Sand lightly after baking for a smooth polished surface. Seal with food-safe resin.
Budget Tip
Terrazzo spoon rests are a brilliant use for clay scrap fragments from other projects. Any color combination works — the leftover clay that accumulates from other making sessions becomes the entire design. Zero waste, high visual impact.
6. Scallop Shell Spoon Rest
A scallop shell spoon rest suits coastal, Mediterranean, and natural home kitchen styles — and the shell form provides a naturally curved surface that holds a spoon perfectly.
Roll a thick oval clay slab. Use a silicone scallop shell mold if you have one — they are inexpensive and produce very detailed results. Without a mold, press the clay into a rounded fan shape and press vertical ridge lines from the base to the tip using a round-tipped tool.

Press the ridges firmly and evenly spaced — about 8–10 ridges across a standard spoon rest size. Even spacing is what makes the scallop silhouette immediately recognizable rather than just a ridged oval.
Curve the edges of the shell slightly upward from the center — the natural curvature of a real scallop creates the spoon well automatically.
Before baking, brush pearl mica powder across the raised ridges using a soft brush. The mica highlights the ridges and creates a natural shell iridescence.
Bake. Seal with food-safe gloss resin.
Budget Tip
Silicone shell molds are sold in craft stores in variety packs for just a few dollars. One mold produces many identical spoon rests consistently and quickly. Pearl mica powder is inexpensive and transforms a simple clay shell into something that looks genuinely valuable.
7. Sitting Cat With Curled Tail Spoon Rest
A cat spoon rest where the tail wraps around to form the rim of the spoon well is one of the most elegant character-based kitchen accessory designs in clay work.
Build a flat oval base from gray or cream clay — this is the body of the sitting cat and the base of the spoon rest simultaneously.

Add a small round head at one end of the oval. Press simple facial features — two almond eyes, a small nose, and a curved smile.
The tail is the functional design element. Roll a long clay tail and curve it around from the body base, along the side of the oval, and up to the head end — creating a raised curved rim along one side and across the top of the spoon rest well. The tail curves naturally contain the spoon.
Add two small triangular ears on the head. Press fur texture lines across the body using a needle tool.
Bake. Seal with food-safe resin.
Budget Tip
Gray clay is standard in most starter packs. Cat spoon rests are consistently among the most popular handmade kitchen items at craft markets and online shops. They appeal to cat owners specifically and to anyone who appreciates the combination of function and character in everyday objects.
8. Embossed Floral Pattern Spoon Rest
An embossed floral spoon rest with a repeating pressed pattern across the full surface looks like fine English pottery — detailed, considered, and genuinely beautiful as a daily kitchen object.
Roll a thick oval clay slab. While still soft, press small flower shapes repeatedly across the entire surface using a small flower stamp or the end of a pen cap shaped into a simple petal pattern.

Work from the center outward in rows, pressing each flower at regular intervals. Keep the spacing consistent — about 1.5cm between each flower center. Consistent spacing is what creates the intended all-over pattern rather than a random scatter.
Let the flowers overlap slightly at the edges of the oval — having the pattern run to the edge rather than stopping short makes the piece look more professionally designed.
Press a shallow central well into the surface after stamping — the flower pattern continues around the well rather than being interrupted by it.
Raise the rim edge gently. Flatten the base.
Bake. Paint with a cream base coat. Dry-brush very lightly with a soft gold paint across the raised flower surfaces to highlight the embossed pattern.
Seal with food-safe resin.
Budget Tip
A small flower stamp or even a pen cap shaped into a petal form costs almost nothing. The all-over repeat pattern technique uses one simple tool repeatedly to create a result that looks labor-intensive and detailed. These rests make beautiful wedding, housewarming, and Mother’s Day gifts.
Conclusion
A handmade clay spoon rest is one of those small objects that quietly improves a kitchen every single day. It keeps the counter clean, holds the spoon in place, and looks genuinely considered sitting beside the stove — unlike a folded piece of paper towel or an old plate pressed into service. The 8 designs in this guide cover every kitchen style from minimal and modern to botanical, coastal, and playfully character-driven. Each one is achievable in an afternoon, requires only affordable materials, and lasts for years with proper food-safe sealing. Start with the design that suits your kitchen style most naturally. Make it, seal it properly, put it beside your stove, and use it every day. Once it is there, you will notice it every single time you cook — and that small daily satisfaction is exactly what good handmade objects are for. Pick up your clay and make your kitchen counter a little more charming today.



