 Skip to content

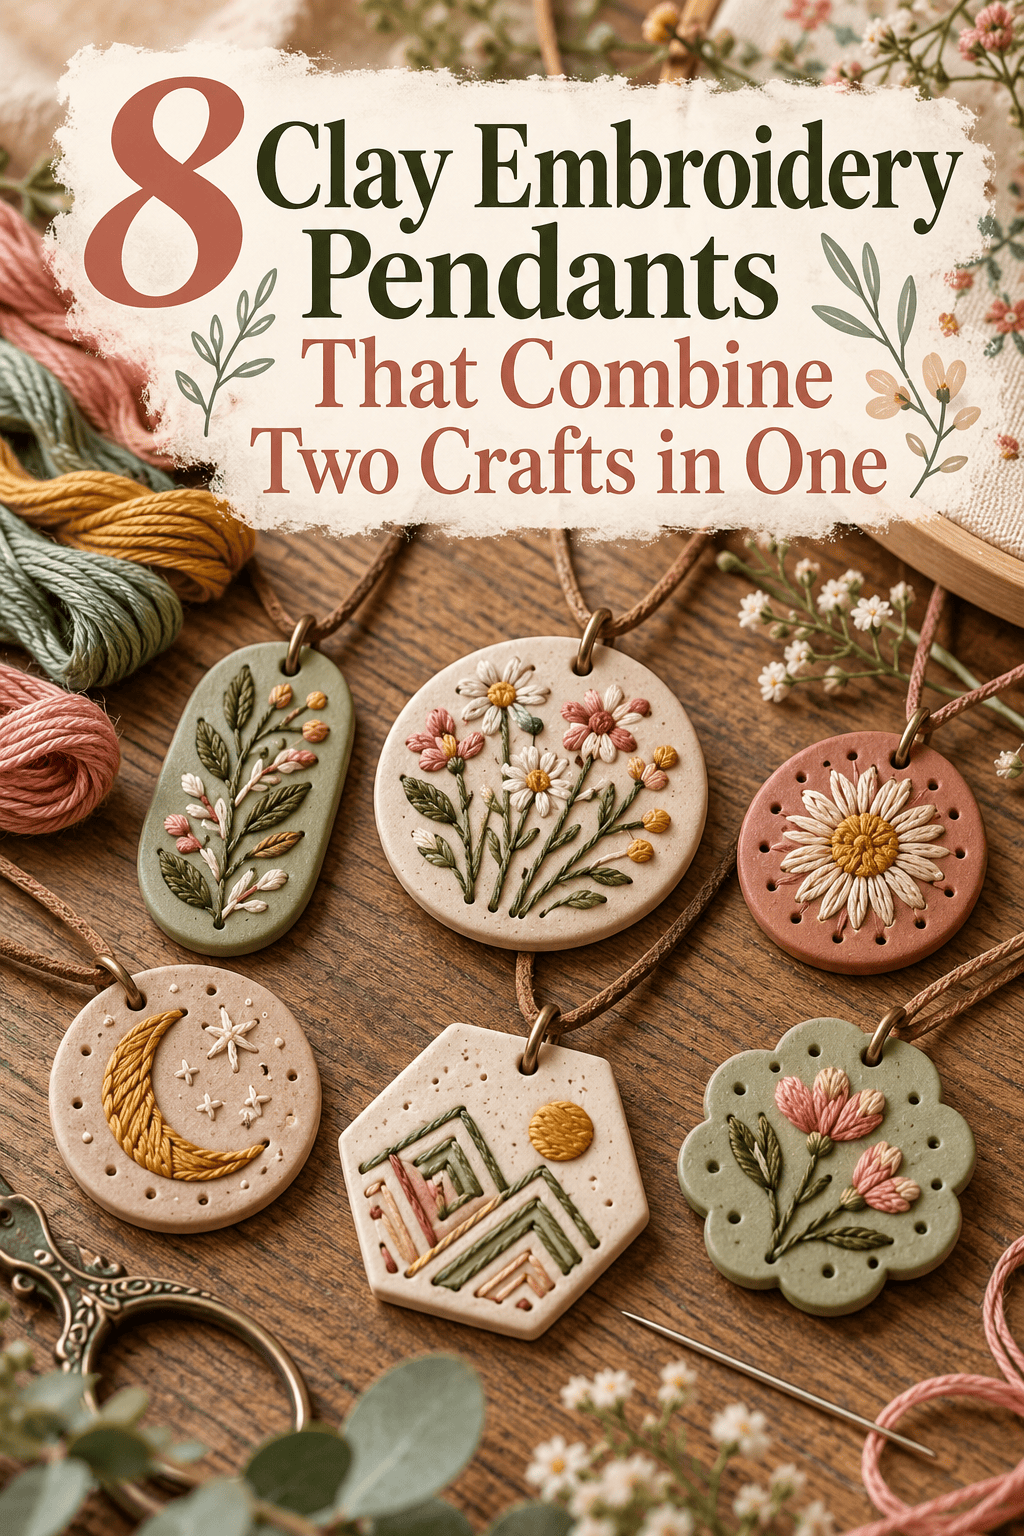

If you love both clay and needlework, clay embroidery pendants are the project where those two crafts meet in the most satisfying way possible. The idea is simple — you make a flat clay base, pierce a pattern of small holes through it before baking, and then stitch embroidery thread through those holes after baking to create a textile design on a hard clay surface. The result is something that looks genuinely unlike anything else in the handmade jewelry world. It is tactile, personal, and combines skills from two completely different craft traditions into one wearable piece. This guide covers 8 creative clay embroidery pendant designs — each one practical to make, beautiful to wear, and achievable even if you are new to one or both crafts.
1. French Knot Floral Bouquet Pendant
French knots are one of the most beginner-friendly embroidery stitches — and on clay, they create a beautifully textured floral cluster that sits raised from the surface.

Roll a flat circle of cream or white polymer clay about 4mm thick and 4cm in diameter. Smooth the surface carefully.
Pierce your hole pattern before baking. Use a fine needle or thin pin to pierce small holes in the arrangement of your floral design — cluster holes tightly together where the flower heads will be, and press single holes in a curved line for each stem.
Press a bail hole or wire loop into the top of the pendant. Bake and cool fully.
Thread a fine embroidery needle with a single strand of blush pink thread. Work French knots through each cluster hole — push the needle up through one hole, wrap the thread twice around the needle, and push back through the same or adjacent hole. Each knot sits raised on the surface.
Use green thread for stem stitch through the stem holes.
Budget Tip
Embroidery thread costs almost nothing — a single skein covers many pendants. Polymer clay for one pendant uses barely any material. The combination of two inexpensive craft supplies produces a pendant that looks and sells like a premium handmade jewelry piece.
2. Cross-Stitch Geometric Pendant
Cross-stitch on clay creates a clean, graphic pattern that looks more like fine textile art than needlework — especially when done in bold, contrasting thread colors.

Roll a flat oval of white polymer clay. The surface needs to be very smooth and even — any bumps interfere with the regular grid pattern a cross-stitch design requires.
Pierce holes in a precise grid pattern before baking. Use graph paper as a guide, or press a fine mesh fabric lightly into the clay surface to mark grid positions, then remove the fabric and pierce each marked point with a pin.
Plan your geometric design before piercing — a diamond, chevron, or simple square motif works well at pendant scale.
Bake and cool. Thread with a single strand of embroidery floss in your chosen colors.
Work each cross-stitch by pushing the needle up through one hole, across to the diagonal hole, back up through the next hole, and across to complete the X. Keep thread tension even throughout.
Fill your planned geometric shape with complete, consistent cross-stitches.
Budget Tip
A basic cross-stitch geometric design uses only two thread colors — one for the pattern, one for a border outline. Keeping the color palette simple produces the most graphic, striking result and uses minimal thread. These pendants appeal strongly to buyers who love the intersection of textile and jewelry design.
3. Wildflower Meadow Pendant
A wildflower meadow scene stitched across a rectangular clay pendant looks like a tiny framed embroidery hoop — but worn as jewelry.

Roll a flat rectangle of cream clay — about 3cm wide and 4cm tall. This portrait orientation suits a meadow landscape naturally, with sky space at the top and ground space at the bottom.
Pierce a random scattering of hole pairs for lazy daisy flowers in the upper two-thirds of the pendant. Pierce short straight lines of holes for grass blades along the bottom third.
Lazy daisy stitch creates petals beautifully. Push the needle up through one hole, loop the thread, and anchor the loop with a tiny stitch through the next hole. Each looped anchor stitch becomes a petal. Group five or six daisy petals around a central French knot.
Use yellow, white, purple, and pink threads for the flowers. Fill the grass area with straight stitches in varying shades of green.
Bake before stitching. Add a bail after baking.
Budget Tip
A wildflower meadow design uses small amounts of many thread colors — perfect for using up embroidery thread scraps from other projects. The rectangular pendant format suits a small printed label on the back noting the stitch types used — a detail that adds perceived value for buyers.
4. Celestial Moon and Stars Embroidery Pendant
Silver metallic thread stitched through deep navy clay creates one of the most striking color combinations possible in clay embroidery pendant work.

Roll a round disc of deep navy or midnight blue polymer clay. Keep the surface smooth and even.
Pierce holes for a crescent moon shape in the upper center of the pendant — a curved line of closely spaced holes that follows the inner and outer edges of the crescent. Pierce scattered single holes for stars across the remaining surface.
Bake and cool completely. Metallic thread is slightly stiffer than standard embroidery floss — use a sharp fine needle and work slowly.
Fill the crescent moon with satin stitch — push the needle up through one edge of the crescent, across to the opposite edge hole, and repeat in parallel lines until the whole crescent is filled with parallel silver threads.
Work small French knots at each star hole for the constellation scatter.
Budget Tip
Silver metallic embroidery thread is sold in small spools very affordably at craft stores. One spool covers many pendants. The deep navy clay background makes silver thread look luminous — the color contrast does the visual work, so the stitching design itself can stay simple.
5. Tiny House Scene Embroidery Pendant
A stitched house scene pendant is personal, narrative, and deeply charming — one of the most requested designs when clay embroidery pendants appear at craft markets.

Roll a flat square of cream or warm white clay — about 3.5cm square. Mark and pierce the outline of a simple house shape through the clay before baking.
Pierce the house as an outline rather than a filled shape. The thread outlines the structure — walls, a triangular roof line, a door rectangle, and two small square windows. Keep the outline holes closely and evenly spaced so the running stitch outline reads clearly.
Pierce small tree shapes on either side of the house — a simple triangle outline for each tree works at this scale.
Bake. Thread with red or navy embroidery floss for the house outline, and green for the trees.
Work running stitch through the outline holes — push the needle up through one hole, skip a hole, push down through the next. The result is a clean dotted outline that reads clearly as a house drawing on the clay surface.
Budget Tip
Running stitch uses less thread than satin or French knot techniques — this design is particularly economical on materials. The house scene pendant makes a wonderful personalized gift for someone who has just bought a new home or moved into a new space.
6. Monogram Initial Embroidery Pendant
A personalized initial pendant worked in satin stitch combines the elegance of embroidered monogramming with the wearability of clay jewelry.

Roll a smooth oval of white or cream polymer clay. Plan your letter carefully before piercing — a block capital letter in a simple font works best at pendant scale. Decorative script fonts are harder to translate into pierced holes.
Pierce the letter as a filled shape rather than just an outline. Fill the interior of each letter stroke with closely spaced parallel holes that will be filled with parallel satin stitches.
Add a small cluster of flower holes beside or below the letter as a decorative accompaniment — three small daisy clusters balance the composition.
Bake and cool. Thread with a rich, deep color — burgundy, navy, forest green, or deep teal all look elegant against cream clay.
Fill the letter with satin stitch — parallel threads lying side by side across the letter shape, each stitch going from one edge hole to the opposite edge hole.
Work small lazy daisy flowers in the floral cluster area.
Budget Tip
Monogram pendants command a higher price than generic designs because of the personalization. Offer custom initials in your online shop or at craft markets — buyers will specifically seek out their own letter, making this a strong repeat-purchase product across a full alphabet of potential customers.
7. Hummingbird in Flight Pendant
A hummingbird embroidery pendant requires slightly more planning than simpler designs — but the result is one of the most beautiful pieces in clay embroidery pendant work.

Roll a round clay disc at least 5cm in diameter — the hummingbird design needs a little more space than letter or geometric designs.
Sketch the hummingbird outline on paper first. Trace the key shapes — body, wings, beak, tail — and mark where holes need to be pierced for each section.
Pierce the wing areas with closely spaced holes for long and short stitch filling. The body needs fewer holes since it is a smaller filled area.
Bake and cool. Use iridescent blue-green thread for the wings and body — the shimmering quality of metallic or iridescent thread captures a hummingbird’s characteristic color shift.
Work long and short stitch to fill the wing areas — alternating long and short stitches that interlock in the next row, creating a smooth graduated fill that follows the wing shape.
Add a ruby red French knot cluster at the throat. Work small pink lazy daisy flowers around the bird.
Budget Tip
Iridescent embroidery thread is sold in small skeins affordably at most craft suppliers. The hummingbird pendant takes longer to make than simpler designs but commands a noticeably higher price — the complexity is clearly visible in the finished piece.
8. Honeycomb and Bee Embroidery Pendant
A honeycomb pendant stitched in amber thread on golden yellow clay is one of the most cohesive clay embroidery designs possible — the color of the clay and the thread work together rather than contrasting.

Roll a flat hexagon from warm golden yellow polymer clay — cut using a ruler and craft knife from a flat slab, keeping all six sides equal.
Pierce a honeycomb cell pattern across the pendant face. Each cell is a small hexagon outline — six holes forming the corners of each cell, with shared holes between adjacent cells. Plan this pattern carefully on paper before piercing.
Work backstitch through the cell outline holes — push up through one hole, back through the previous hole, up through the next hole ahead. Backstitch creates a continuous, unbroken outline that reads cleanly as a honeycomb grid.
In the center cell, work a small bee — a striped oval body using alternating yellow and black straight stitches, with two tiny white straight stitch wings.
Bake before stitching. Add a brass bail after stitching is complete.
Budget Tip
Amber and yellow thread are often included in basic embroidery thread starter sets. The hexagonal clay form is cut with a ruler and knife — no special cutter required. Honeycomb bee pendants sell well year-round and particularly strongly at nature, garden, and botanical-themed markets and online shops.
Conclusion
Clay embroidery pendants sit at a genuinely unique point in the handmade craft world — they are neither purely jewelry nor purely needlework, but something more interesting than either on its own. The technique is approachable once you understand the basic process of piercing before baking and stitching after, and the range of designs possible is as broad as embroidery itself. The 8 designs in this guide cover geometric, floral, celestial, narrative, and nature-inspired approaches — enough variety to build a full collection or find the style that suits you best. Start with the simplest design — the French knot bouquet or the cross-stitch geometric — and work up to the more detailed hummingbird or honeycomb pieces as your confidence grows. Each pendant you make teaches you something about balancing clay work with thread work, and that knowledge compounds quickly. Pick up a small block of polymer clay, a pack of embroidery thread, and a fine needle, and make your first clay embroidery pendant today. The result will be something genuinely unlike anything else in your jewelry box.



