 Skip to content

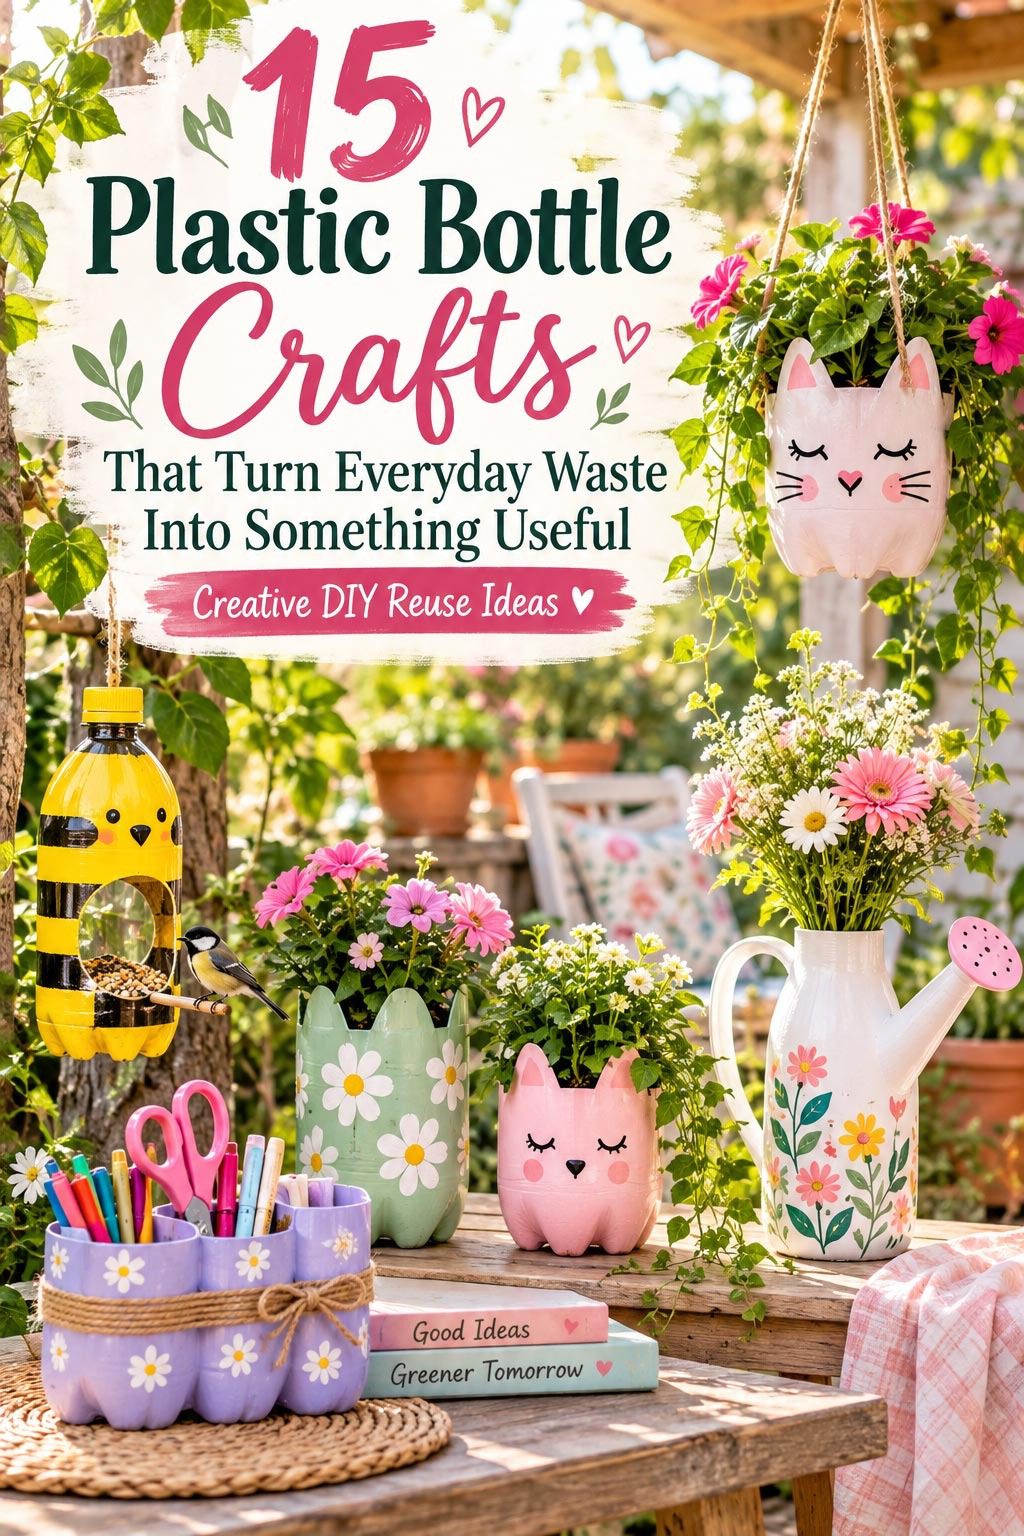

Plastic bottles are one of the most abundant waste materials on the planet — and most of them end up in bins within minutes of being emptied. But a plastic bottle is also a pre-formed, waterproof, lightweight container that costs nothing and comes in dozens of shapes and sizes. With a pair of scissors, some basic craft supplies, and a little time, those bottles become planters, organizers, bird feeders, toys, and home accessories that are genuinely useful rather than decorative afterthoughts. This guide covers 15 plastic bottle craft projects — each one practical, achievable at home with basic tools, and genuinely worth making.
1. Plastic Bottle Herb Planter
A plastic bottle cut in half makes a compact planter for herbs, succulents, and small flowering plants — functional, free, and appropriate for indoor windowsills and outdoor fences.
Take a clean two-liter bottle. Use a sharp craft knife or scissors to cut horizontally about one-third from the top. The lower section becomes the planter body.

Pierce several drainage holes in the base using a heated skewer or nail. Drainage is what determines whether the plant survives — skip this step and roots will rot.
Fill with potting soil and plant your chosen herb or succulent. Mint, basil, chives, and small succulents all work well at this scale.
Paint the exterior with outdoor-appropriate acrylic or spray paint. Two coats in a solid color give the bottle a clean, intentional look. White and terracotta tones suit herb planters particularly well.
Punch two holes near the top rim of the cut edge to thread a hanging cord if you want wall-mounted planters.
Budget Tip
A row of six hanging bottle herb planters on a fence or wall costs almost nothing to make — only the potting soil and paint have any cost. Use matching paint colors across the set for a cohesive display. Label each planter with the herb name using a paint pen on the bottle surface.
2. Plastic Bottle Bird Feeder
A plastic bottle bird feeder takes about 15 minutes to make and functions as well as any bought version — the bottle shape is already ideal for holding and dispensing seed.
Take a clean one or two-liter bottle with its cap. Push two wooden spoons through opposite sides of the lower third of the bottle — push each spoon completely through so the handle extends out one side and the bowl extends out the other.

Cut small holes just above each spoon bowl — about the size of a large coin. These holes allow seed to flow down into the spoon bowl where birds can access it.
Fill the bottle with wild bird seed through the top before reattaching the cap. The cap keeps rain out and maintains seed freshness.
Punch a hole through the cap and thread a length of wire for hanging from a tree branch or garden hook.
Budget Tip
Wild bird seed is inexpensive in bulk bags. Wooden spoons from discount stores cost very little. The bottle itself is free. Hang at a height where you can observe the birds from a window — the transparent bottle lets you see exactly how much seed remains without removing it from the branch.
3. Desk Organizer Set
Three plastic bottles of different sizes with their tops removed become a coordinated desk organizer set — functional storage that costs nothing beyond a roll of decorative tape.
Select three bottles of varying heights — a two-liter bottle, a one-liter bottle, and a standard 500ml bottle. Cut each bottle horizontally just below where the sides become straight — this removes the upper tapered section and leaves a clean cylindrical container.

Sand the cut edges lightly with fine sandpaper to remove any sharp points.
Cover the exterior of each bottle with washi tape, patterned paper, or fabric strips. Working in a single coordinating color palette across all three makes the set look designed.
Alternatively, paint with chalk paint for a matte, ceramic-like finish that looks nothing like the original plastic.
Stand the three containers together in a cluster. Group by content type — tall for rulers and scissors, medium for pens and pencils, short for small accessories.
Budget Tip
Washi tape is the most affordable decorating option — a single roll covers all three containers. Chalk paint gives the most premium finish. Grouping the containers in odd numbers of three or five always looks more considered than even-numbered groupings.
4. Self-Watering Plant Pot
A self-watering system made from one bottle solves the problem of inconsistent watering for houseplants — the bottle slowly releases water into the soil as it dries.
Take one two-liter bottle. Cut it in half horizontally at the midpoint.

Invert the top half into the bottom half — the bottle neck points downward into the soil section. Remove the cap and thread a piece of cotton rope or string through the neck opening down into the soil — this wick draws water downward from the upper reservoir into the root zone.
Fill the lower section with potting soil. Plant your chosen plant. Fill the inverted upper section with water.
As the soil dries, capillary action draws water from the reservoir through the wick into the soil. Refill the upper reservoir every few days.
This system works particularly well for tomatoes, herbs, and houseplants that need consistent moisture levels.
Budget Tip
A cotton string wick costs nothing — use an old shoelace or a strip of cotton fabric. The system is especially useful for people who travel frequently and cannot water daily. One bottle creates a complete system. Make four or five for a windowsill herb garden that largely waters itself.
5. Piggy Bank Money Box
A large oval-shaped plastic bottle becomes a piggy bank with the addition of a few simple details — a practical savings tool that children enjoy making and using.
Choose a large bottle with a rounded oval shape — dishwashing liquid bottles and some water bottles work well. Clean and dry thoroughly.
Cut a coin slot in the top of the bottle — about 3cm long and 4mm wide. Use a craft knife for a clean, straight slot. A ragged slot makes inserting coins frustrating.
Glue four bottle caps to the base as feet — two at the front, two at the back.
Add a cork or small clay ball for a snout. Twist a pipe cleaner into a curled tail and push it through a small hole at the back.
Paint the whole bottle in pink acrylic. Add black dot eyes with a paint pen once the base coat dries.
To access savings, remove the cap or make a removable base section held with tape.
Budget Tip
All materials are free or nearly free — the bottle, bottle cap feet, and cork are all recycled. Pipe cleaners cost a few cents. Paint is the main cost. This is an excellent craft project for children learning about saving money — the making process creates investment in the object and in the saving habit.
6. Bottle Cap Watering Can
A plastic bottle with a perforated cap becomes a gentle watering can that delivers a soft shower of water — ideal for seedlings and delicate plants that a heavy stream would damage.
Take a standard two-liter bottle with its original cap. Use a heated skewer or a small nail and hammer to pierce 10–15 small holes through the flat face of the cap.

Space the holes evenly across the full cap face for an even water distribution. Concentrate holes toward the center for a tighter stream or spread them to the edges for a wider shower.
Fill the bottle with water. Replace the perforated cap. Hold the bottle upside down over your plants — the water flows through the holes in a gentle shower pattern.
Squeeze the bottle slightly to increase water pressure when needed. Release for a softer flow.
Budget Tip
This is perhaps the simplest and most useful project on the entire list — it takes under five minutes and requires only a heated skewer. Make several perforated caps with different hole counts for varying water flow intensities. Keep one cap with fewer holes for seedlings and one with more holes for established plants.
7. Zippered Pencil Case
Two matching plastic bottles with a zipper sewn or glued between the cut edges create a functional, waterproof pencil case — the transparent plastic lets you see the contents at a glance.
Take two identical bottles. Cut each one in half horizontally, keeping the lower sections. These two half-bottles form the two sides of the pencil case.

Sand the cut edges of both halves smooth with fine sandpaper — a smooth edge is what allows the zipper to attach cleanly.
Glue or sew a standard zipper along the cut edge of each half. Use strong waterproof adhesive for a no-sew version — run a bead of adhesive along the zipper tape and press the cut edge firmly against it.
Allow the adhesive to cure fully before use.
The two halves zip together to form a closed case. The slight transparency of most plastic bottles lets you see colored pencils and markers inside without opening.
Budget Tip
Zippers from old broken bags or clothing are free. The bottles are free. Strong waterproof adhesive is the only purchase required. The finished pencil case is completely waterproof — far more resistant to accidental water damage than a fabric pencil case at any price point.
8. Vertical Wall Garden Panel
Six or eight plastic bottles mounted horizontally on a wooden board create a vertical garden that grows herbs, strawberries, and small flowers on a wall or fence — ideal for small outdoor spaces with no ground planting area.
Cut each bottle in half horizontally. Use only the lower sections as planting containers. Pierce drainage holes in the base of each section.

Mount the bottle sections to a wooden plank or pallet board using cable ties or wire looped through small holes drilled into the board. Position bottles in offset rows for a more visual arrangement.
Fill with potting mix and plant — strawberries, herbs, lettuce, and trailing nasturtiums all perform well in this format.
Hang the completed panel on a fence or wall that receives adequate sunlight for your chosen plants.
Budget Tip
A pallet board as the backing is completely free from hardware stores or furniture deliveries. The bottles are free. Only potting mix and plant seedlings have any cost. A six-bottle panel planted with mixed herbs provides a genuinely useful kitchen garden that takes up no ground space — an excellent solution for balconies and small courtyard gardens.
9. Mini Bottle Terrarium
A large clear plastic bottle creates a functional closed terrarium — the transparent walls and naturally humid interior suit moisture-loving plants like ferns and moss.
Take a large clear plastic bottle — a five-liter water bottle works best for maximum interior space. Cut the bottle about two-thirds from the base, keeping the lower section as the main container.

Add a drainage layer first — small pebbles or gravel about 2cm deep. Add a thin layer of activated charcoal above the gravel to keep the environment fresh. Fill with a layer of suitable potting mix.
Plant small ferns, moss, and miniature houseplants — choose plants that enjoy humidity and indirect light. Press them gently into the soil.
Mist lightly with water. Invert the upper bottle section back over the lower section as a lid — it rests on the rim of the lower section without needing to be sealed.
Budget Tip
Activated charcoal is sold cheaply in small bags at garden centers and aquarium shops. Small ferns and moss are inexpensive at garden centers or free from shaded garden areas. The clear bottle walls allow light in from all sides — place in a bright spot away from direct sun which would overheat the enclosed environment.
10. Pet Food Scoop
A plastic bottle cut diagonally across the base creates a deep, functional scoop — perfect for pet food, bird seed, fertilizer, or bulk dry goods.
Take a clean two-liter bottle. Remove the label. Draw a diagonal cutting line from a point about halfway up one side down to the base on the opposite side.

Cut along this diagonal line with sharp scissors or a craft knife. The diagonal cut creates a deep scoop bowl on one side and the bottle neck and cap become the comfortable handle.
Sand the cut edge smooth with sandpaper. The cut edge is what contacts your hand repeatedly — any sharp points become uncomfortable quickly.
The cap seals the handle end so nothing falls out through the neck. Remove the cap when using as a scoop, replace for storage.
Budget Tip
A large bottle scoop holds approximately one cup of material depending on the bottle size used. Make several from different sized bottles for different quantities — a small 500ml bottle scoop for coffee beans, a large two-liter scoop for pet food. Label each scoop with its intended use using a paint pen on the handle section.
11. Bottle Cap Mosaic Coaster
Collecting bottle caps over several weeks produces enough colorful material for a mosaic coaster — the circular graphic surfaces create a bold, visually complex pattern from cheap waste material.
Build or find a shallow square frame about 12cm x 12cm and 1.5cm deep. A simple wooden picture frame with the glass removed works well.

Arrange bottle caps face-up inside the frame in a pattern. Sort by color first — arranging caps by color creates cleaner, more readable geometric patterns than random mixing.
Press the caps tightly together so there is minimal gap between them. The tighter the arrangement, the more solid the finished surface.
Pour a thin layer of two-part clear resin over the arrangement to fill the gaps between caps and create a level, smooth top surface.
Allow the resin to cure fully — usually 24 hours. The finished surface is hard, smooth, and waterproof.
Budget Tip
Two-part resin is the main cost here. The caps are free from ongoing collection. Ask friends and family to save their caps — a few weeks of collecting from several households produces enough caps for multiple coasters. The resin kit produces enough for several coasters from one purchase.
12. Garden Sprinkler Toy
Several plastic bottles attached along a garden hose and pierced with small holes create a lawn sprinkler that children can run through during summer — a free outdoor toy that works on water pressure alone.
Take three or four one-liter bottles. Pierce a row of small holes along the lower surface of each bottle using a heated skewer — about 10 holes per bottle spaced 2cm apart.

Push the garden hose through the mouth of each bottle and seal the join with waterproof tape or a rubber grommet. The bottles should be spaced at regular intervals along the hose.
Lay the hose and bottle assembly along the lawn. Turn the hose on — water fills each bottle and sprays upward through the piercings in arcs of varying heights.
Adjust the water pressure to control how high the spray reaches.
Budget Tip
The entire project beyond the garden hose costs nothing. A functioning garden sprinkler toy from a shop costs significantly more and uses far more material to produce. This version can be adjusted, repaired, and remade in minutes if a bottle breaks or the spray pattern changes. Children enjoy helping make it before using it.
13. Spiral Wind Spinner
A plastic bottle cut into spiral strips and painted in bright colors creates a wind spinner that rotates and catches light — a free garden decoration that takes about 20 minutes to make.
Take a clean bottle and draw a continuous spiral line from the base to the neck using a marker — like drawing a barber pole stripe around the outside.

Cut along the spiral line with sharp scissors from the base end upward, stopping about 5cm from the neck. The cut creates one continuous spiral strip still attached at the neck end.
Gently pull the base end of the spiral downward — the cut strip extends outward like a coiled spring. The bottle neck remains intact for hanging.
Paint the spiral strip in bright colors — solid sections of different colors or gradient color fades along the length of the strip.
Hang from a thread through the bottle neck. The spiral catches air movement and rotates.
Budget Tip
One bottle makes one spinner. Make five or six in different colors and sizes and hang them at different heights from a tree or garden arch for a colorful moving display. Clear bottles show colors differently in sunlight than opaque bottles — both look good, but clear bottles create interesting light reflections when they spin.
14. Punctured Bottle Lantern
A plastic bottle with hundreds of small holes pierced through its surface and a battery LED inside becomes a lantern that casts small points of light across any surrounding surface — a free outdoor evening decoration.
Take a clean translucent or lightly colored plastic bottle. Fill it temporarily with tightly packed dry sand or salt — this interior fill prevents the bottle walls from collapsing inward when you pierce holes.

Use a heated skewer or nail to pierce holes all over the bottle surface in a random scatter. Vary the hole size slightly by using different size tools — a mix of larger and smaller holes creates a more interesting light pattern.
Pour out the sand once all holes are pierced. Wipe the interior clean.
Place a battery-powered LED tealight inside through the bottle opening. Replace the cap.
Hang with string through a hole in the cap.
Budget Tip
Battery LED tealights are inexpensive in bulk packs and last many hours. The bottle itself is free. These lanterns suit outdoor parties, garden events, and balcony lighting. Make ten or twelve in different sizes and hang them together for a garden light installation that looks atmospheric and costs almost nothing.
15. Plastic Bottle Fly Trap
A plastic bottle fly trap catches flies using a funnel entrance they can enter but cannot exit — a practical, chemical-free pest control solution for gardens and outdoor dining areas.
Take a clean two-liter bottle. Cut the bottle horizontally about one-third from the top.
Invert the top section into the lower section — the bottle neck now points downward into the lower container. The inverted neck creates a funnel: flies enter through the narrow bottle neck opening attracted by the bait inside and cannot find the small opening to exit.

Pour a small amount of attractant into the lower section — sugar water with a small amount of vinegar works well. Fruit juice or diluted jam are also effective.
Press the inverted top firmly into the lower section so the two parts hold together without tape.
Hang from a fence or garden structure using wire threaded through holes punched near the top of the lower section.
Budget Tip
Sugar and water are the entire material cost beyond the free bottle. Empty and refill the trap every few days — an overfull trap loses effectiveness. Place multiple traps around a garden or outdoor dining area for better coverage. This trap works without any commercial pesticide chemicals — a genuinely useful and cost-free approach to outdoor fly management.
Conclusion
Plastic bottles are one of the few waste materials that arrive at your home already formed into a waterproof, lightweight, free container — and they keep arriving. The 15 projects in this guide show exactly what those containers can become when you decide to make something with them rather than immediately bin them. Some of the most useful projects here — the watering can, the pet food scoop, the self-watering planter, and the fly trap — take under 15 minutes and solve real daily problems without costing anything. Others take longer and produce something more decorative — the wind spinner, the lantern, and the mosaic coaster — but still cost almost nothing in materials. Start with the project that solves a problem you already have. Make it this week from a bottle you would have thrown away tomorrow. Once you have made one thing and used it, looking at the next empty bottle differently becomes completely automatic. The raw material will keep coming — the only question is what you decide to make with it.



