 Skip to content

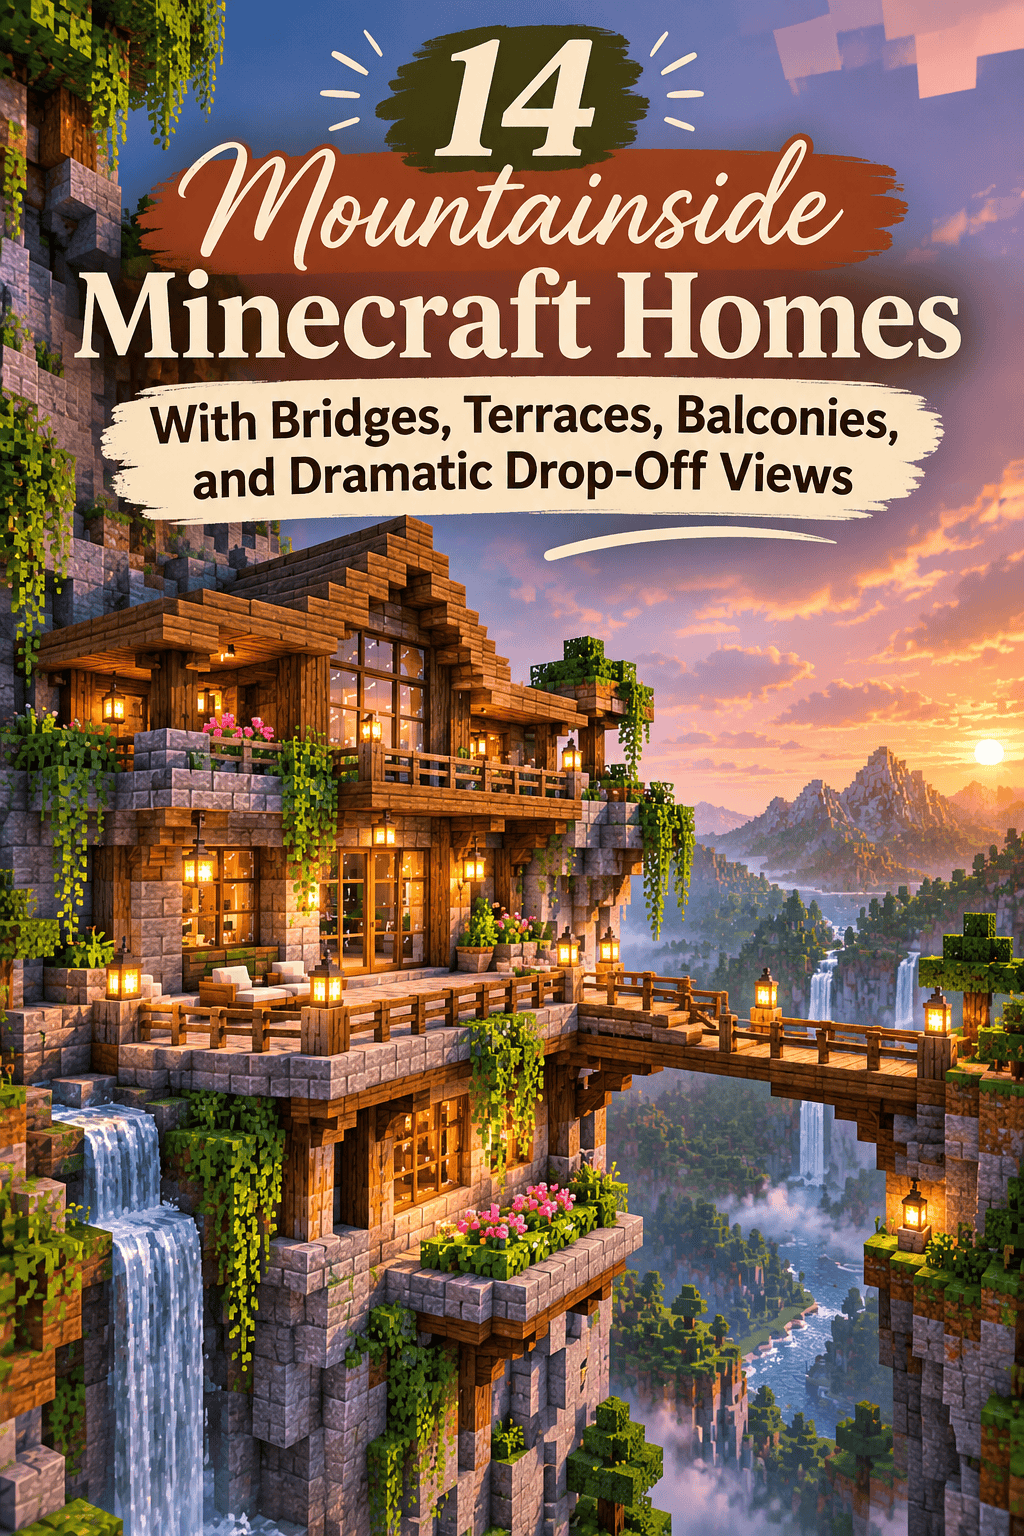

A mountainside is the best building site in Minecraft. The slope gives you free height, the cliffs give you drama, and the view does half the design work for you. You do not need rare blocks or hours of mining. Stone, wood, glass, and a few lanterns are enough. If you are searching for Minecraft mountain house ideas, this list gives you 20 builds to try. Each one uses cheap, common blocks and simple steps. You will find bridges, terraces, balconies, and cliff-edge rooms. Pick one, grab a stack of cobblestone, and start building on the next hill you find.
1. Cliffside Cabin With a Front Terrace
A cabin with a terrace is the simplest mountain build. It gives you a house and a view spot in one.
Pick a flat ledge on a cliff face. If none exists, carve one with a pickaxe. Mark a 7 by 9 footprint with dirt blocks.
Build the walls from spruce logs at the corners and planks between them. Use cobblestone for the bottom row so it looks grounded in the rock.
Extend the floor three blocks past the front wall to form a terrace. Add fences as railings and place a few lanterns on top of the posts.

Put a bench on the terrace using stairs and signs. Add a flower pot or two.
Save resources by using one wood type for everything. It looks clean and costs less.
Add a gabled roof with stairs. Leave a one-block overhang so rain blocks do not touch the walls.
Place torches along the path so mobs cannot spawn near the door.
2. Stone Bridge Between Two Peaks
A bridge turns two lonely peaks into one home. It also makes the build look huge.
Find two cliffs about 15 to 25 blocks apart. Build the base first. Lay a line of stone bricks across the gap with a solid floor three blocks wide.
Add arches underneath. Place stair blocks upside down to make a curve, then fill in the top with slabs. The arch makes the bridge look strong and old.

Build low walls on each side using cobblestone walls. Add a lantern every fifth block for light.
Keep the bridge flat in the middle and slightly raised at the ends. This gives it shape.
Save resources by using cobblestone and mixing in a few stone bricks. The mix looks natural.
Place vines or moss on the arches for an aged look.
Build a small gatehouse at one end. A tiny roof and a door make it feel like an entry.
3. Wooden Rope Bridge to a Treehouse Room
A rope bridge feels light and playful. It leads to a hidden room that few players will find.
Pick a rocky outcrop across a small gap. Build a small room on the outcrop using planks and logs. Keep it about 5 by 5 blocks.
For the bridge, place trapdoors or slabs as the walkway. Hang chains or fences on both sides as ropes. Use fence posts every four blocks to hold the line.

Let the bridge sag in the middle. Drop each slab down one block at the center and raise it again at the end.
Add lanterns hanging from the rope posts.
Save resources by using oak planks and fences. These cost almost nothing.
Place a ladder on the cliff face so you can climb down if you fall.
Fill the room with a bed, a chest, and a crafting table. Put a window facing the drop for the best view.
4. Terraced Garden Levels Down the Slope
Terraces turn a steep slope into usable land. They also give you farms, flowers, and a clear path from the top to the bottom.
Pick a slope with a gentle angle. Carve out three flat steps, each about five blocks deep. Place a stone brick wall at the front of each step to hold the soil.
Fill each level with dirt and grass. Plant flowers, wheat, or berry bushes. Add a water source at the top so it flows down.

Connect the levels with stone stairs at one side. Keep them wide enough for two players.
Place fences along each edge so you do not fall off.
Save resources by making the walls from cobblestone and adding stone bricks only on the top row.
Add a small shed at the bottom for tools and seeds.
Plant flowers in rows for color. Use only two or three types so the garden looks calm.
5. Cantilever Balcony Over a Drop-Off
A balcony that sticks out over a drop makes a dramatic view. The trick is to make it look supported.
Extend the floor of your main room out five blocks past the cliff edge. Use planks or slabs for the floor. Keep it wide, at least four blocks.
Add diagonal supports underneath. Place stair blocks upside down from the cliff wall to the underside of the balcony. This looks like a strong beam.

Place fences or iron bars along the outer edge as a railing. Leave a gap for stairs if you want a way down.
Add a small table with a pressure plate and a pair of stairs as chairs. Put a lantern above.
Save resources by using spruce wood and stone for the supports. Both are easy to find.
Build the balcony in line with the best view. Check the view before you place a single block.
Add a glass pane wall on one side for wind cover.
6. Glass-Front Mountain Lodge
A glass wall turns the view into the main feature of the room. It keeps the cold out and the light in.
Build a simple lodge against the cliff. Use dark oak logs for the frame and stone for the base. Make the front wall mostly glass panes.
Frame the glass with log posts every three blocks. This breaks up the wall and makes it look planned.

Add a sloped roof using stairs and slabs. Let the roof reach past the front wall by two blocks to shade the window.
Inside, build a fireplace from stone bricks with a campfire or lava behind glass. Add a rug made of carpet.
Save resources by using glass panes instead of full glass blocks. A single sand stack makes many panes.
Place lanterns inside the window so the glow shows at night.
Face the glass toward the best view. A window facing a wall wastes the build.
7. Cave Home With Cliff-Face Windows
A cave home is safe, warm, and cheap to build. You dig instead of building walls.
Pick a flat spot on a cliff. Dig straight in seven blocks, then widen the room to seven by seven. Keep the ceiling at four blocks high.
Add glass windows on the cliff face. Remove a few stone blocks from the front and place glass panes. This shows the view.
Light the room with torches or lanterns. Dark rooms attract mobs.

Make the floor from spruce planks and the walls from stone bricks. Mix cobblestone with andesite for a rough look.
Add a front door and a small porch. Place stone stairs outside for a path.
Save resources by leaving most walls as natural stone. Digging costs nothing.
Add a skylight by removing one block in the ceiling and placing glass. Sunlight pours into the room.
Keep the entry sealed at night with a door and a fence gate.
8. Switchback Staircase Path
A switchback path is a zigzag that climbs a steep slope. It looks natural and saves effort.
Plan the route first. Mark the turns with torches or dirt blocks. Make each leg about ten blocks long.
Place stone slabs one block higher at each step. A slab path is smoother than stairs. Keep it two blocks wide.

Build low cobblestone walls on the drop side. They stop you from falling and look neat.
At each turn, make a small landing. Add a lantern post and a bench made from stairs.
Save resources by using cobblestone and slabs. They are cheap and easy to craft.
Plant grass or flowers along the path so it looks soft.
Place a sign at each landing to mark the way.
The path leads to your cabin at the top. It makes the walk feel like part of the home.
9. Waterfall Courtyard Behind the House
A waterfall adds sound, motion, and a great backdrop. It is also easy to build.
Pick a cliff behind your house. Dig a small channel at the top and place a water bucket at the start. Water will pour down the face.
At the bottom, build a stone-lined pond. Use stone bricks or cobblestone for the edge. Keep the pond about four by four blocks.

Add lily pads and a few flowers around the edge. Place lanterns on posts nearby.
Surround the pond with a small courtyard. Lay a floor of gravel and stone. Add a bench.
Save resources by using one bucket of water. Water flows forever, so you do not need more.
Build a small wooden bridge over the pond for style.
Keep the waterfall away from your bedroom walls. Flowing water can wash away torches and blocks.
10. Wraparound Deck on a Ridge Line
A ridge gives you views in every direction. A wraparound deck lets you enjoy all of them.
Build your house on the top of a ridge. Keep it small, about seven by seven. Place the deck floor one block out from every wall. Make it three blocks wide.
Use spruce planks or slabs for the floor. Add fences around the edge as a railing. Place a lantern on each corner post.

Add stairs down on one side. Keep them wide.
Place furniture along the deck. A table, a few chairs, and a barrel for storage all fit well.
Save resources by using oak wood for everything. It is the cheapest wood in the game.
Add a roof overhang that covers part of the deck. It looks cozy and keeps rain off.
Add flower pots at each corner for color.
11. Stilted House Over a Steep Slope
Stilts let you build on a slope that is too steep to dig. The house seems to float over the rock.
Pick a steep slope. Place log pillars from the rock up to a level height. Space them every three blocks. Use stripped logs for a cleaner look.
Add cross beams between pillars with logs on their sides. This makes the base look strong.

Lay a plank floor on top. Build a simple cabin above. Keep it about six by eight.
Add a staircase from the ground to the door. Make it wide and use a landing halfway.
Save resources by using only one wood type for pillars and beams. Keep the cabin the same wood.
Use stone blocks at the base of each pillar. This helps them look grounded.
Place a lantern at each corner so the stilts do not look dark at night.
12. Watchtower Lookout on a Rocky Spur
A watchtower adds height and drama. It is also useful as a lookout.
Pick a rocky spur that sticks out from the mountain. Build a round or square tower about five by five. Make it 15 blocks tall. Use stone bricks and mix in a few mossy ones.
Add a balcony at the top with fences. Leave a gap for a ladder.
Build a pointed roof from dark oak stairs and slabs. A steep roof looks tall.

Put windows at each floor. Place a pane of glass in each slit.
Place a spiral ladder or stairs inside. Use scaffolding for a quick option.
Save resources by using cobblestone for the lower half and stone bricks on the upper half.
Place a banner at the top for color.
Add a small gate at the base. Torches around the door keep mobs away.
13. Hanging Garden Balcony With Vines
A balcony covered in plants feels alive. It softens hard stone and makes the build look old.
Build a wide balcony with a plank floor. Add fence railings. Place flower pots along the edge with different flowers.
Hang vines from the underside of the balcony. Place vines on the sides and let them grow down. Use shears to collect vines from jungle biomes.

Add leaf blocks along the railing for a bush. Place a few azalea and moss blocks for color.
Place hanging lanterns from the roof. They glow through the leaves at night.
Save resources by using bone meal to grow plants quickly. A few bones make a lot.
Add a small bench and a barrel table.
Keep the plants trimmed so they do not cover windows. Use shears to cut them back.
14. Underground Mine Entrance Home
A mine entrance home blends living and mining in one build. It makes a great base for a long game.
Pick a cliff with a natural cave opening or dig a wide tunnel. Frame the entrance with dark oak logs and planks. Add a small porch outside with stone slabs.
Run minecart rails from the entrance into the cave. Place powered rails every few blocks for speed.

Build a small house next to the entrance. Use stone bricks and spruce. Add a chimney.
Place lanterns along the rails to light the way.
Save resources by using cobblestone and wood only. Both come from the mine.
Make a storage room inside the cliff. Use chests and barrels along the walls.
Add a furnace wall next to the entrance so you can smelt ore as you return from mining. Label chests with signs so items stay sorted.
Conclusion
A mountain gives you a head start on every build. Cliffs become walls, ledges become floors, and drops become views. Each idea here uses cheap blocks and simple steps, so you can finish most of them in a single play session. Start with a cabin and a terrace, then add a bridge, a balcony, or a waterfall as you go. Keep your block palette small and your lights close together. Find your next mountain, pick one idea from this list, and place your first block today.



