 Skip to content

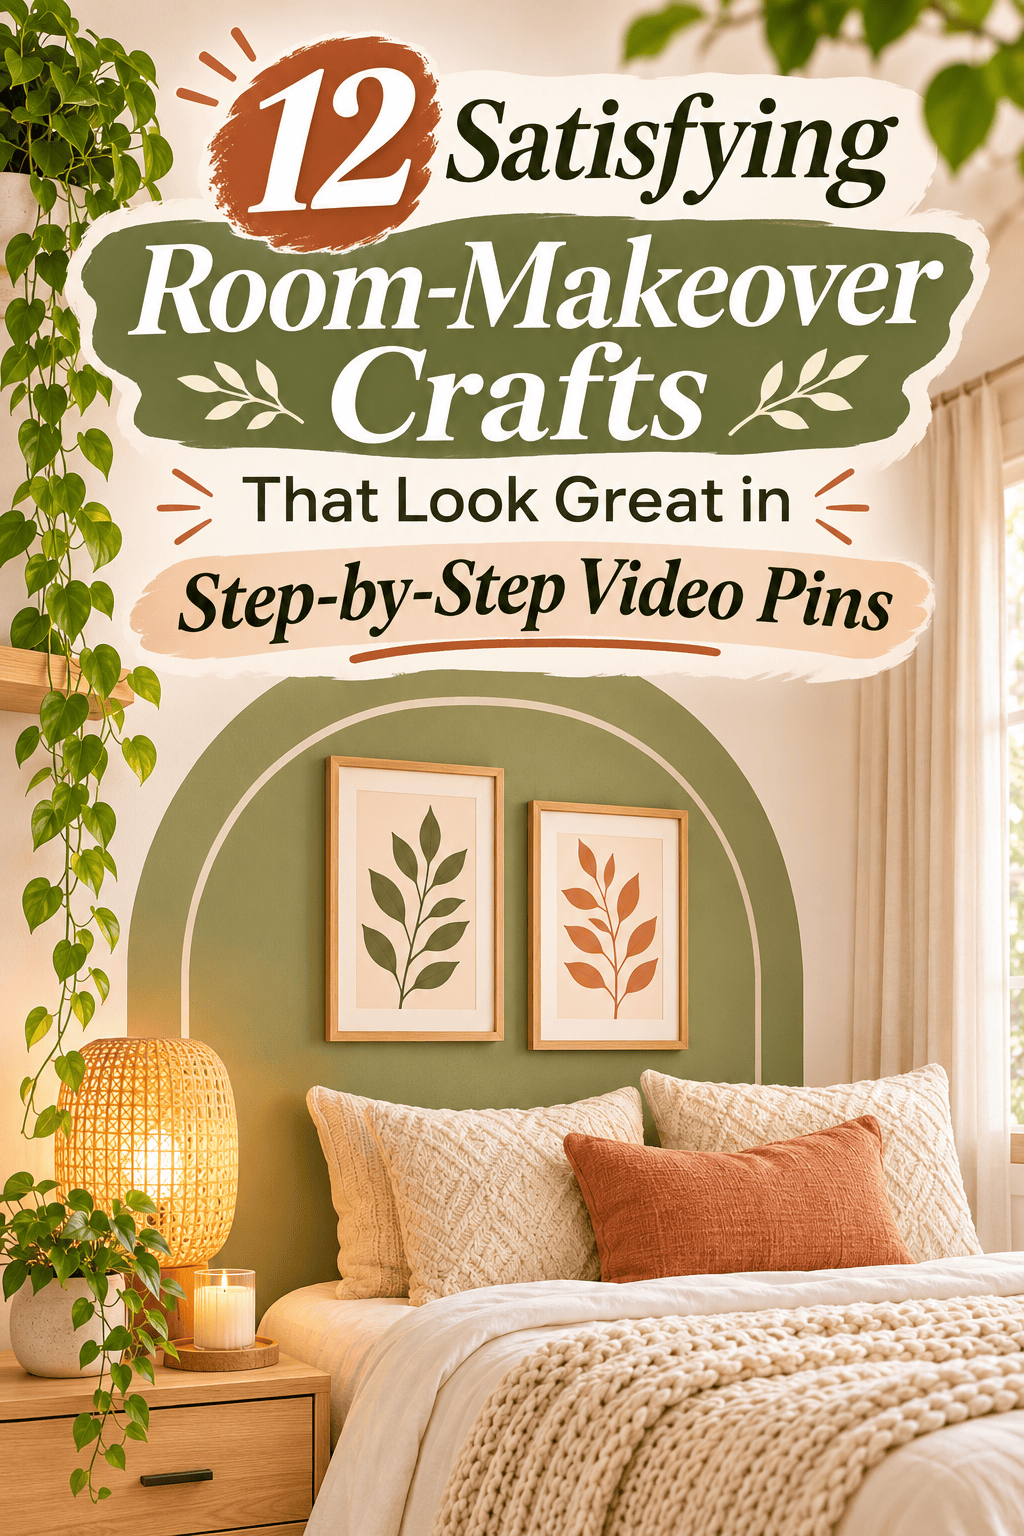

Some crafts are made for the camera. You can watch the glue go on, the paint fill in, and the plain corner change in under a minute of video. The best ones have clear steps, a visible before and after, and cheap supplies. If you are searching for step-by-step DIY room decor crafts, this list gives you 20 makeovers to try. Each one breaks into four or five simple moves you can film from above. Each one costs little and finishes in an afternoon. Pick one corner of your room, set your phone on a stack of books, and start recording your first makeover.
1. Fluted Cardboard Lampshade
A fluted shade looks like a designer piece and uses a cereal box. The ribbed texture also films beautifully.
Buy a plain drum lampshade or save one from a thrift store. Cut cardboard strips about one inch wide and as tall as the shade. Cut thirty to forty strips.
Glue each strip upright around the shade, edge to edge. Use a hot glue gun and work in small sections. Keep the strips straight.

Paint the shade cream, sage, or terracotta with acrylic paint. Let it dry for an hour.
Seal with a clear spray outside if you want a firm finish.
Use a warm LED bulb and keep it a few inches from the cardboard. LEDs stay cool.
Save money by using shipping boxes. Corrugated cardboard peeled into single layers gives the ribbed look.
Film the glue and paint steps from above. The repeating strips make a satisfying clip.
2. Yarn-Wrapped Wall Hoop
Wrapping yarn is calm, simple, and great to watch. The hoop fills a blank wall fast.
Buy a metal or wooden hoop about ten inches wide. Tape the end of a yarn strand to the hoop. Wrap it tightly, with no gaps, in one direction.
Change colors by tying a knot on the back. Keep each color band a few inches wide. Cream, terracotta, and sage look warm together.

Cut ten strands of yarn, each eight inches long. Fold each in half and loop it onto the bottom of the hoop. Trim the ends straight for a fringe.
Add a loop of yarn at the top for hanging.
Save money by using leftover yarn in small amounts. Mixed scraps work well.
Hang the hoop on a removable hook. Film the wrap steps from above so the color changes show clearly.
3. Painted Arch Wall Mural
A painted arch turns a blank wall into a headboard. It is just paint and tape.
Pick a sample pot of paint in terracotta, sage, or soft blush. Trace a large arch with a pencil. Use a string tied to a pencil as a compass for the curve. Add two straight sides.
Press painter’s tape around the outside of the shape. Run a finger along the edge to seal it. Paint two thin coats and let each dry.

Peel the tape slowly while the paint is slightly damp. The edge stays clean.
Save money by using leftover wall paint and a sample pot. A small arch needs very little.
Rent a home? Paint the arch on foam board and lean it behind the bed.
Film the tape peel at the end. It makes the best moment in the video.
4. Washi Tape Geometric Wall
Washi tape makes a wall pattern with no paint and no holes. It peels off cleanly.
Pick three rolls of washi tape in matching colors. Mark a starting point on the wall with a small pencil dot. Lay a straight strip with a ruler or a level.
Add strips at angles to form triangles and diamonds. Press each strip flat with a credit card. Trim ends with scissors.

Keep the design to one corner or a rectangle so it reads as art.
Save money by buying a multi-pack of tape rolls. A pack costs about the price of a coffee.
Test a small piece in a hidden spot first. Some paints peel with tape.
Film the layout from a tripod so the pattern builds on screen. Speed up the clip for a quick view.
5. Macrame Fringe Wall Hanging
Knots look great in a video because each one repeats. A hanging needs only one knot.
Cut eight lengths of cotton cord, each four feet long. Fold each in half and tie it to a wooden dowel with a loop knot.
Tie square knots in pairs across the first row. Shift the pairs for the second row to make a diamond pattern. Keep tension even.

Add four rows. Trim the bottom into a straight or V-shaped fringe. Comb the strands with your fingers for a soft look.
Hang from the dowel with a loop of cord.
Save money by using a branch instead of a dowel. Wash and dry it first.
Film from above with your hands in view. Show each knot slowly, then speed up the repeats.
6. String Light Photo Display
A photo and light display warms a room in minutes. It also shows a clear before and after.
Buy warm white string lights and a pack of mini wooden clips. Stick two removable hooks on the wall, about four feet apart. Loop the lights between them in a gentle swag.
Print ten small photos at a drugstore. Clip them along the string with even gaps.

Mix in postcards or ticket stubs for variety.
Switch on the lights and film the glow. The change from plain wall to warm wall is the payoff shot.
Save money by printing photos at home on plain paper. Add a thin white border with a marker.
Use battery lights if no outlet is close. Add a timer so they switch off at night.
Swap photos every month. It keeps the wall new.
7. Painted Floor Mat Pattern
A plain mat becomes a custom piece with tape and paint. The stripes film cleanly.
Buy a plain jute or coir mat. Lay painter’s tape in a stripe, chevron, or checker pattern. Press the edges down well.
Dab outdoor acrylic paint inside the open spaces with a sponge brush. Use thin coats. Rough fibers soak up paint, so two coats may be needed.

Peel the tape while the paint is slightly damp. Let the mat dry for a day.
Seal with a clear outdoor spray if the mat will sit by a door.
Save money by using sample paint pots or leftover house paint.
Film the tape peel up close. It is the most satisfying moment.
Shake out dirt before painting. Debris gets trapped in wet paint.
8. Clay Wall Hooks
Clay hooks turn a coat corner into decor. Rolling and shaping clay is also relaxing to watch.
Roll a ball of air-dry clay and press it into an oval about three inches tall. Add a small round knob for the hook. Blend the seam with a damp finger. Poke a hole near the top for a screw.
Let each hook dry for two days. Sand lightly. Paint them cream or terracotta. Add speckles with a toothbrush dipped in dark paint.

Seal with varnish. Screw them onto a painted wooden board and hang it on the wall.
Use hooks for light items like scarves and small bags.
Save money by making a whole row from one block of clay.
Film the pinching and smoothing steps from above. The clay changes shape in front of the camera.
9. Fabric-Covered Cork Board
A plain cork board looks dated. Fabric makes it a feature wall piece.
Cut fabric about two inches larger than the board on every side. Lay it face down and place the board on top. Fold the edges over and staple them to the back. Fold the corners like a gift.
Glue a ribbon or trim around the edge to hide the staples. Hot glue works well.

Add a hanging strip on the back.
Choose fabric that matches your room. Linen, velvet, and gingham all look nice.
Save money by using an old curtain or a scarf as the fabric.
Film the stretch and staple steps. The fabric pulling tight is the satisfying moment.
Pin up photos and notes with colored pushpins. Paint plain pins with nail polish for a custom look.
10. Layered Paper Wall Art
Layered paper makes depth with no painting skill. Each new layer adds a shadow.
Buy cardstock in four soft shades. Cut wavy hill shapes from each sheet, making each one slightly smaller than the last.
Stack the shapes from back to front, largest first. Glue each layer along the edge. Use foam tape or folded paper squares behind each layer to lift it.

Place the finished piece in a thrifted frame. Remove the glass so the shadows show.
Keep the palette to three or four colors.
Save money by using scrapbook paper or old magazine pages in solid colors.
Film the stacking steps from the top. Each layer slotting in creates a satisfying build.
Hang it above a dresser or bed.
11. Painted Terracotta Pot Set
A painted pot makes a small plant look special. Tape and paint make the pattern easy.
Buy three to five small terracotta pots at a garden store. Wash and dry them. Paint a base coat in white or cream.
Lay strips of masking tape on the dry paint to make stripes, half circles, or triangles. Paint over the open areas in rust, sage, or gold. Peel the tape while the paint is slightly damp.

Seal with a clear spray outside.
Plant pothos, snake plants, or small succulents. All three handle low light.
Save money by dividing one large plant into several pots. Pothos roots easily in water.
Film the tape peel and the reveal of each pot. Line the pots up on a windowsill for the final shot.
12. Hand-Painted Mirror Frame
A painted frame gives an old mirror a new style. It is quick, cheap, and fun to watch.
Find a thrifted mirror with a wood or plastic frame. Wipe it clean. Tape the glass edge with painter’s tape and cover the mirror with paper.
Lightly sand the frame so paint sticks. Wipe off the dust. Brush on acrylic or spray paint in sage, cream, black, or blush. Add a second coat once the first dries.

For a pretty touch, dab gold dots along the frame with a paint pen.
Seal with a clear spray outside.
Save money by using sample-size paint pots. One pot covers a small frame.
Film the painting steps from above. The color change from dull to bright makes a strong before and after.
Lean the mirror on a dresser or hang it with a strong hook.
Conclusion
Room makeover crafts work best when each step is simple and the change is easy to see. Fluted shades, yarn hoops, painted arches, clay hooks, and layered paper all follow the same pattern: a few cheap supplies, a handful of clear steps, and a satisfying result. Start with one corner of your room and pick one project that fits your budget. Set up your phone, film the steps, and finish the piece in one afternoon. Share the clip or keep it for yourself. Pick your first makeover today and start making.



