 Skip to content

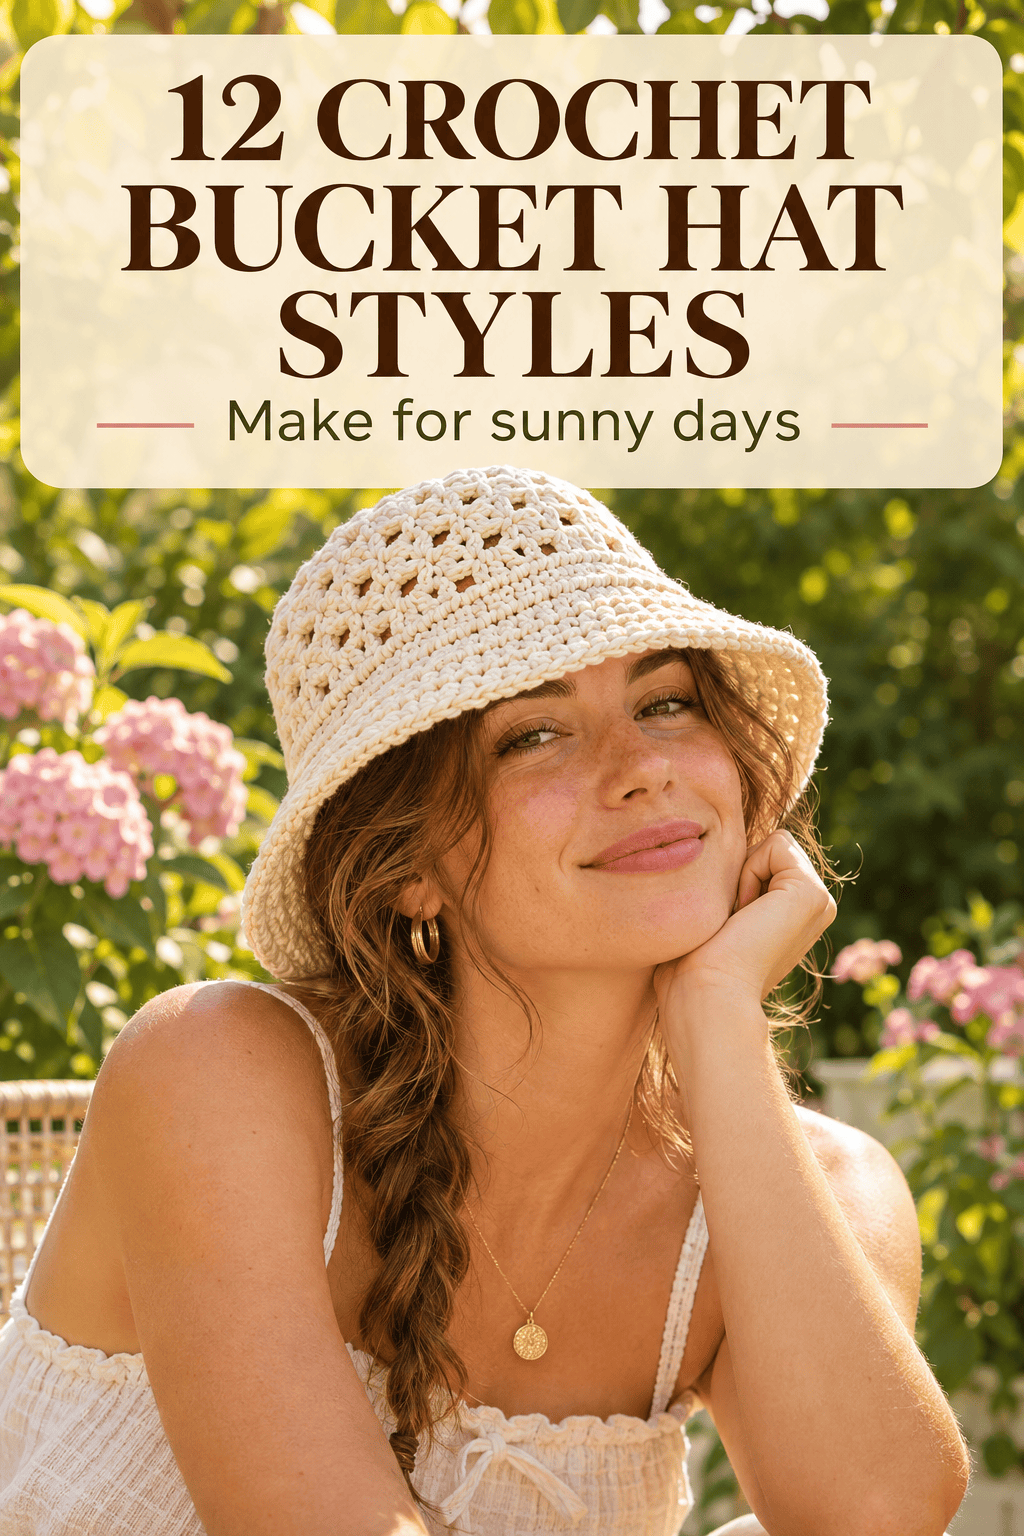

A crochet bucket hat is the best sun-day project you can make. It shades your face, packs flat in a bag, and works up fast with basic stitches. You do not need a big budget or advanced skills. A few skeins of cotton yarn and one hook are enough. If you are searching for crochet bucket hat patterns and styles, this list gives you 20 designs to try. Each one uses simple stitches and cheap supplies. You will find hats for beaches, gardens, and city walks. Pick one style, grab your yarn, and make a hat this weekend.
1. Classic Single Crochet Bucket Hat
This is the best first hat. It uses one stitch and gives you a clean, sturdy shape.
Pick worsted cotton yarn and a 5 mm hook. Cotton breathes well and holds its shape in the sun. One or two skeins is plenty.
Start with a magic ring and make six single crochet stitches. Work in rounds, adding stitches evenly to grow the flat top. Stop when the circle fits the top of your head.

Work straight rounds with no increases to build the crown walls. Try the hat on as you go. Stop at about four inches tall.
For the brim, add stitches evenly in each round. Work three or four rounds for a small brim.
Use a stitch marker so you never lose your place. A safety pin works too.
Save money by using leftover yarn from other projects. Two colors make a fun striped band.
Weave in the ends and press the brim flat with steam.
2. Wide-Brim Sun Hat Style
A wide brim gives real shade. This style suits long days at the beach or in the garden.
Make the crown as you would for a classic hat. Keep the walls a little shorter, about three and a half inches.
For the brim, work six to eight rounds of increases. Add stitches evenly so the brim lies flat and does not ripple. If it ruffles, you added too many. If it cups, you added too few.

Use cotton or a cotton blend so the brim holds up. Soft acrylic can flop.
Stiffen the brim by crocheting over a piece of thin craft wire in the last round. Wrap the wire edge with yarn so it feels smooth.
Save money by skipping wire and using a starch spray on the finished brim. Press it flat and let it dry.
Choose a light color like cream, sand, or pale yellow. Light shades reflect sun.
Keep the brim under four inches for easy packing.
3. Granny Square Bucket Hat
Granny squares are a good way to use up scraps. They turn into a bold, colorful hat.
Make eight small squares, each about three inches wide. Use a 4 mm hook and cotton yarn. Pick three or four colors that look good together.
Join six squares in a ring for the side walls. Use slip stitch or a whip stitch with a yarn needle. Make a second ring with two squares for the top, or crochet a flat circle to fit.

Sew the top onto the ring. Add a round of single crochet around the bottom edge to form a clean brim.
Try the hat on before you finish the brim.
Save money by making squares from leftover yarn. A mix of small pieces looks charming.
Use a neutral border in white or cream to make colors pop.
Weave in all the ends as you go. It saves a long job at the end.
4. Striped Beach Bucket Hat
Stripes make a plain hat look planned. They also use up yarn in small amounts.
Choose two colors with strong contrast. Navy and cream, or coral and white, look great. Use the same weight of cotton yarn for both.
Work the hat in rounds. Change colors every two rounds. Pick up the new color in the last stitch of the old round. Pull it through to switch cleanly.

Carry the unused yarn up the inside of the hat. Do not cut it each time. This saves weaving.
Keep the carried strand loose. A tight carry puckers the fabric.
For a bold look, make stripes of different widths. Try one thick stripe, then two thin ones.
Save money by buying mini skeins in the two colors you need. A mini skein costs very little.
Add a matching band around the brim in one of the colors for a neat edge.
5. Textured Waffle Stitch Hat
Texture makes a hat look store-bought. The waffle stitch creates little squares you can feel and see.
Pick a cotton yarn in a solid color. Texture shows best in plain shades. Olive, rust, and cream look nice.
The waffle stitch uses front post double crochet stitches over a base round of single crochet. Watch a short video of the post stitch first. It takes a few tries to feel natural.

Work the crown in plain single crochet. Switch to waffle stitch for the side walls. Alternate a post round with a plain round.
Keep the brim in single crochet so it lies flat.
Use a slightly larger hook for the textured rounds. The fabric stays soft and does not shrink in.
Save money by practicing on a small swatch with scrap yarn. It costs nothing and shows you the pattern.
The textured fabric is thick, so use cotton to keep the hat cool.
6. Reversible Two-Color Bucket Hat
A reversible hat gives you two looks in one. Flip it for a new color.
Make two matching hats, one in each color. Use the same pattern and the same number of stitches. Keep the sizes identical.
Turn one hat inside out. Slide it inside the other so the right sides face out. Line up the brims.
Join the two layers along the brim edge with slip stitch or single crochet through both layers. Work slowly and keep the stitches even.

Weave in the ends between the layers so the inside stays clean.
Pick two colors that look good on their own, like mustard and cream or navy and white.
Save money by making the inner hat from cheaper cotton in a plain color.
Keep the hat in a lighter weight yarn so the double layer does not feel heavy. A double layer is warm, so save this one for mild days.
7. Flower Applique Bucket Hat
Small crochet flowers turn a plain hat into a garden. They are quick to make and easy to sew on.
Start with a plain bucket hat in cream or sage. Then make five to eight flowers. Use a 3 mm hook and a small amount of cotton yarn in pink, yellow, and lavender.
For each flower, make a magic ring and work five petals in double crochet. Tie off and weave in the ends. Add a small button or a yarn knot in the center.

Make a clay bead center for a handmade touch. Roll a tiny ball of air-dry clay, poke a hole, paint it, and sew it on.
Arrange the flowers around the brim or the crown. Pin them first to check the layout. Sew each one on with a yarn needle.
Save money by using scrap yarn. A flower needs only a few yards.
Keep a few green leaves in between. Make them from a simple chain and slip stitch.
8. Mesh Stitch Breathable Hat
An open mesh hat breathes in the heat. The gaps let air flow through while the brim still shades your face.
Use thin cotton yarn and a 4 mm hook. A lighter yarn gives a lacy look.
Make the crown in single crochet for coverage. Then switch to a mesh pattern for the sides. Try this: chain one, skip a stitch, double crochet into the next. Repeat around.

On the next round, double crochet into the chain spaces. The holes line up in a neat grid.
Keep the brim solid with single crochet. This gives shade and keeps the edge firm.
Add a lining if you want more coverage. Sew a thin cotton scrap inside the crown.
Save money by using thin leftover cotton. A hat takes about 150 yards.
Wash the hat gently by hand. Mesh stretches when wet, so lay it flat to dry.
9. Raffia Look Straw Style Hat
Raffia-style yarn looks like a straw hat but works like yarn. It holds its shape and gives great shade.
Buy paper raffia yarn at a craft store. A single skein costs only a few dollars. Pick a natural tone like sand, tan, or honey.
Use a 4 to 5 mm hook. The yarn is stiff, so go up a size if your hands tire.

Work the hat in single crochet with a firm tension. The fabric holds its shape on its own, so you do not need starch.
Make the crown, walls, and brim as in the classic hat. Try it on often since raffia does not stretch.
Raffia can split. Keep your hook smooth and your stitches steady.
Save money by mixing raffia with cotton yarn for the brim. Use cotton in a matching color.
Keep the hat out of heavy rain. Paper yarn can lose shape when soaked. Let it dry flat if it gets wet.
10. Hat With Drawstring and Toggle
A drawstring keeps your hat on in the wind. It also adds a sporty look.
Make your hat as in the classic pattern. Before the brim, add a round of eyelets by chaining two and skipping two stitches around. This forms holes that look like a little chain.
Braid a cord from three strands of yarn. Make it about 30 inches long. Tie a knot at each end.

Thread the cord through the eyelets with a yarn needle. Pull it out the front or the back.
Add a wooden toggle or a large bead to the cord. Slide it up to tighten.
Make a clay toggle for a handmade look. Roll a small oval of clay, poke two holes, paint it, and thread the cord through.
Save money by using leftover yarn for the cord.
Keep the drawstring long enough to tie under the chin. Tuck the ends inside the hat when not in use.
11. Kids’ Mini Bucket Hat
A kids’ bucket hat is small, quick, and cute. You can finish one in an evening.
Pick soft cotton yarn and a 4 mm hook. Choose a gentle fiber for sensitive skin. Skip scratchy wool.
Measure the head size first. A toddler head is about 18 inches around. A child’s head is 20 to 21 inches. Make the crown the right width before you work the walls.

Work the hat as the classic pattern, but make the walls shorter. Try about three inches. Keep the brim small so it does not block the view.
Add a chin strap with a simple chain and slip stitch. Sew a small button on each side if you want it to fasten.
Save money by making one hat from one skein. A skein of cotton makes two or three small hats.
Add a tiny crochet animal ear or flower on top for fun.
Wash gently. Kids grow, so make the hat a little large.
12. Hat With Pocket Brim Band
A contrast band adds style and hides the join between crown and brim. It is a quick finishing touch.
Make the hat in a solid color such as cream or sand. Pick a band color that pops, like rust, mustard, or sage.
Work two or three rounds of single crochet in the new color around the base of the crown. Keep the stitch count the same so the band lies flat.

For a textured band, use a back post double crochet. This makes a ribbed look.
Sew a small crochet flower or a button on the side for a finishing touch. Make the flower in a third color.
Save money by using scrap yarn for the band. One small ball is enough.
Make a second band in a different color. Slip it on and off the hat with a few stitches for easy swaps.
Press the finished hat with steam. Keep the iron above the surface so you do not flatten the stitches.
Conclusion
A crochet bucket hat gives you shade, style, and a project you can finish in a few evenings. Classic, striped, mesh, raffia, and flower styles all use simple stitches and cheap yarn, and each one fits a different sunny day. Start with the classic single crochet hat, then try a new style when you feel ready. Keep a small bag of cotton scraps for flowers, bands, and cords. Pick your first hat today, grab a hook, and start stitching.



