 Skip to content

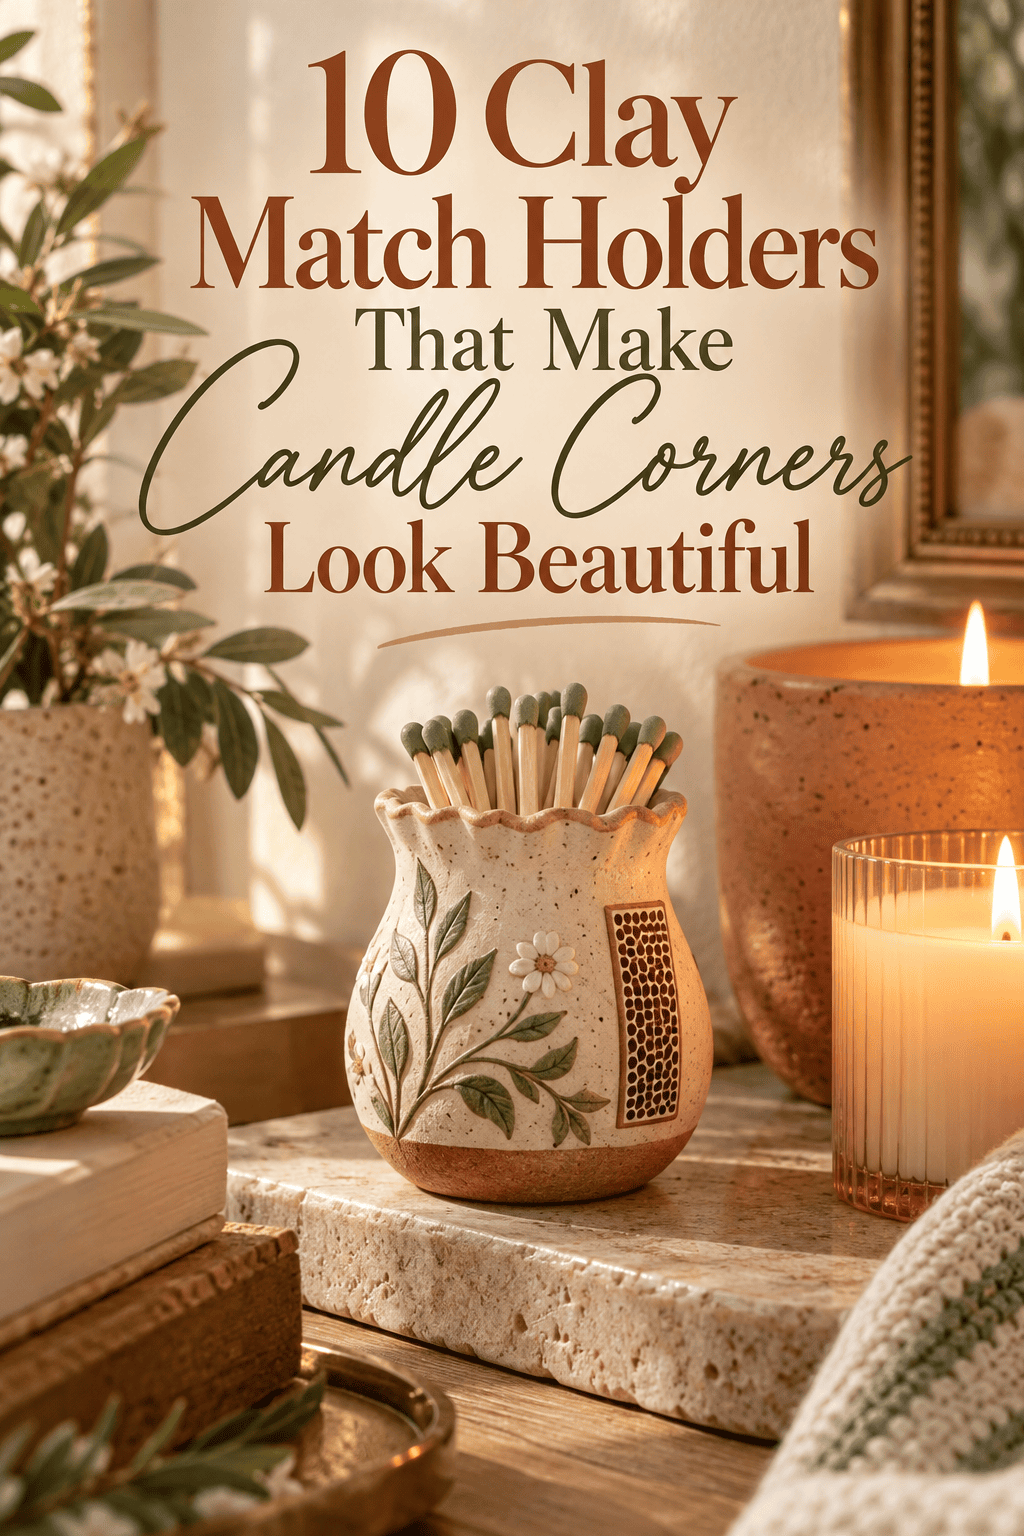

A candle corner deserves more than a plain box of matches sitting beside it. A handmade clay match holder turns a functional object into a considered part of your home décor — something that looks like it belongs exactly where it sits. Clay match holders are simple to make, hold a full box of matches comfortably, and can be decorated to suit any interior style from minimalist modern to cottagecore botanical. They also make one of the most practical and genuinely useful handmade gifts for anyone who loves candles. This guide walks through 10 creative clay match holder designs — each one functional, beautiful, and straightforward to build at home with affordable materials.
1. Minimal Matte Black Cylinder Holder
A clean matte black cylinder is the most minimal clay match holder design possible — and in the right interior, it looks more considered than anything elaborate.
Roll a thick clay slab and wrap it into a cylinder shape. Press the join firmly and smooth it until it is invisible. The cylinder wall should be about 5mm thick — sturdy enough to hold matches without flexing.

The internal diameter matters most. Press a bundle of matches into the cylinder while the clay is still soft to size the opening correctly. The matches should stand upright comfortably with a little room to spare.
Build a flat clay base and attach it to the bottom of the cylinder. Smooth the interior base join carefully — matches will sit on this surface.
Keep the exterior completely smooth. Matte black paint applied after baking is what sells this design — the color does all the visual work, so the form needs to be clean and free of fingerprints or tool marks.
Wrap a thin strip of fine-grit sandpaper around the lower exterior as a striker surface. Glue firmly with strong adhesive.
Budget Tip
Black acrylic paint is inexpensive. The cylinder form is the simplest clay shape to build. Matte black holders suit modern, masculine, and minimal interiors — a broad market that responds well to functional, well-finished objects.
2. Terracotta Pot Style Match Holder
A clay match holder shaped and painted to look like a classic terracotta pot fits naturally into any plant-lover or botanical-themed home.
Build a slightly tapered cylinder — wider at the base, narrowing slightly toward the top rim. This gentle taper is the defining characteristic of the terracotta pot silhouette.

Add a thin clay rim around the top edge — roll a thin log of clay and press it around the top opening, smoothing the inner join so it does not catch on matches being removed.
Press simple leaf impressions around the exterior body using a real small leaf from your garden. The botanical texture suits the terracotta aesthetic perfectly.
Paint in warm terracotta tones after baking. Mix orange, red, and white acrylic paint to achieve the characteristic earthy terracotta color. Apply a slightly darker wash into the leaf impression lines for depth.
Seal with matte varnish. Attach a cork disc or fine sandpaper strip to the base as a striker surface.
Budget Tip
Terracotta color can be mixed from affordable basic acrylic paints — no specialty paint required. Cork sheet is inexpensive and cuts easily to any shape. This holder suits gifting alongside a scented candle and dried herbs for a complete botanical home gift set.
3. Fluted Column Match Holder
Vertical fluting gives a simple cylinder visual texture and a high-end ceramic quality that looks far more crafted than a plain smooth surface.
Roll a clay slab and form a cylinder. While the clay is still soft, press a series of evenly spaced vertical ridges down the exterior using a rounded tool — the back of a pen, a smooth dowel, or a dedicated clay rib tool all work.

Press each ridge with consistent depth and spacing. Uneven fluting looks unintentional. Mark the spacing lightly with a needle tool before pressing the ridges to keep them evenly distributed around the circumference.
Work around the cylinder pressing each ridge from top to bottom in one continuous stroke. About 10–12 ridges on a standard-sized holder looks balanced.
Build and attach a flat base. Press a hanging hole through the base edge if you want to add a striker strip anchor point.
Bake. Paint in soft sage green, dusty blue, or cream. Seal with matte varnish.
Budget Tip
Fluting requires no specialty tools — a smooth pen barrel creates beautiful ridges. The technique transforms a basic cylinder into something that looks like a piece from a boutique ceramics studio. Fluted holders photograph well and have strong visual appeal in online shop listings.
4. Little House Match Holder
A match holder shaped like a tiny house is a conversation piece that sits naturally on a mantelpiece or beside a fireplace candle display.
Build four flat clay walls pressed together into a small rectangular box. Keep the walls thick — at least 7mm — for structural stability. Leave the top open.

Build a pitched roof from two flat triangular clay slabs pressed together at the ridge. The roof is not attached permanently — it lifts off to allow matches to be placed inside and removed.
Add a front facade to the house — a small arched door and two square windows pressed into the front wall with a needle tool. Press wood grain lines across the door.
Make a small chimney from a short clay cylinder pressed through the roof surface. The chimney opening aligns with the interior of the house.
Bake the walls and roof separately. Attach a fine sandpaper striker strip along one exterior wall.
Paint in cream with gray roof tiles suggested by painted horizontal lines.
Budget Tip
The house form uses flat slab construction — a very beginner-friendly technique. No curved shaping required. The removable roof is the functional feature that makes this design work as a match holder — accessible from the top just like a real box.
5. Marbled Rose and Cream Match Holder
A marbled clay match holder in dusty rose and cream looks like a piece of decorative ceramic — and it suits the kind of soft, styled candle corner that photographs beautifully.
Take dusty rose and cream polymer clay. Roll each into a log of equal thickness. Twist the logs together loosely. Fold once. Stop mixing before the colors fully merge — you want distinct swirling streaks, not a flat blended color.

Roll the marbled clay into a slab and wrap it into a cylinder form. The marbled pattern will wrap around the exterior naturally as you form the cylinder.
Press the join firmly and smooth it. Trim the top and bottom edges cleanly with a craft knife. Build and attach a flat base from plain cream clay — a plain base grounds the marbled design without competing with it.
Bake. No paint is needed — the marbled clay color is the finish.
Seal with gloss varnish for a ceramic-like surface. Attach a striker strip to the base.
Budget Tip
Marbled clay uses minimal material since the visual complexity comes from technique rather than volume. Dusty rose and cream clay are standard colors in most packs. Marbled match holders suit gift sets paired with matching marbled candle holders or coasters for a cohesive home décor collection.
6. Pressed Fern Texture Match Holder
A fern-textured exterior turns a plain clay cylinder into something that looks like an artisan botanical ceramic — and the texture is made entirely by pressing real ferns into the clay surface.
Form your clay cylinder and keep it on a smooth work surface while still soft. Press a fresh fern frond firmly against the exterior wall and roll the cylinder lightly so the full frond surface contacts the clay.

Peel the fern away carefully — pull slowly from one end rather than lifting the whole frond at once. The vein pattern, stem, and individual leaflet outlines transfer directly onto the clay.
Repeat with a second frond section if needed to cover the full circumference. Slightly overlapping impressions look natural — botanical coverage is rarely perfectly spaced.
Bake. The natural cream color of air-dry or polymer clay suits this design perfectly — no paint needed.
Brush gold or pearl mica powder lightly across the surface before baking. The mica settles into the fern impression lines and highlights the texture beautifully.
Seal with matte varnish. Attach a striker strip to the base.
Budget Tip
Ferns from your garden are free. This technique produces a result that looks so detailed most people assume it was made with an expensive mold. One fern leaf textures multiple holders.
7. Character Face Match Holder
A face match holder where the matches emerge from the top of the head like wild hair is one of the most photographed and shared handmade home décor objects online.
Build a cylindrical form as your base. While still soft, press a simple face onto the front exterior — two half-closed eyes, a small round nose, and a gently curved smile. Keep the features minimal and slightly abstract. Simple features at this scale look intentional. Overworked features look cluttered.

Build hair around the top opening edge — roll thin clay logs and press them around the rim in loose wavy shapes. The matches standing upright through the opening become the wild standing hair of the character.
Add small ear shapes on each side. Smooth all joins carefully.
Bake. Paint in warm peach or golden skin tones. Add rosy cheek circles with diluted pink paint after baking.
Seal with matte varnish. Attach a striker strip around the base.
Budget Tip
Face holders use standard clay colors — peaches can be mixed from white, orange, and pink. These holders perform exceptionally well on social media. A photograph of the face holder with matches as hair consistently generates high engagement, making it an excellent product to invest time in for online shop photography.
8. Wabi-Sabi Pinch Pot Match Holder
A wabi-sabi pinch pot holder celebrates imperfection — the finger marks, irregular walls, and organic form are the design, not mistakes to correct.
Take a ball of clay. Push your thumb into the center. Pinch and rotate the clay between your thumb and fingers, building the walls upward and outward. Let the process be imperfect.

Do not smooth away the finger and thumb impressions. These marks are the whole aesthetic of wabi-sabi clay work. The visible evidence of hand-making is what makes the piece authentic.
Work until the walls are tall enough to hold matches upright — about 7–8cm for standard matches. The opening can be slightly off-center or irregular. That is correct.
Let the walls be slightly uneven in thickness. The base will naturally be thicker — this is fine and adds stability.
Bake. Do not paint. The natural clay color in sand, ochre, or warm cream suits the wabi-sabi aesthetic far better than any applied color.
Attach a fine sandpaper striker strip to the exterior base.
Budget Tip
Pinch pot holders require no tools at all — only your hands and clay. They are the most beginner-friendly form on this list and produce highly individualistic results. Each one is completely unique, which is a genuine selling point for buyers who value handmade authenticity.
9. Lighthouse Match Holder
A lighthouse match holder is a natural fit for coastal home interiors — it suits a candle corner styled with driftwood, shells, and sea glass.
Build a slightly tapered white clay cylinder — the lighthouse tower body. Narrow it slightly toward the top.

Add a wider clay ring partway up the tower — this is the watch gallery where the lighthouse keeper would stand. Make it slightly wider than the tower body, about 1cm thick.
Build the lantern room at the very top as a small open cylinder — this is where the matches stand. The opening should be wide enough for matches to be removed easily with two fingers.
Press horizontal stripe line guides around the tower with a needle tool. Paint alternating red stripes after baking.
Add a small clay door at the tower base and a round porthole window above it.
Bake. Paint white with red stripes. Seal with satin varnish.
Attach a sandpaper striker strip along the tower base section.
Budget Tip
White and red acrylic paint are both inexpensive and widely available. The lighthouse form is built from a basic cylinder with added ring details — no complex shaping required. A coastal lighthouse match holder suits gift sets paired with ocean-scented candles and small shells.
10. Faceted Crystal Match Holder
A faceted crystal match holder looks like a polished gemstone sitting on your candle shelf — the angled planes catch the light and make the holder look genuinely luxurious.
Form a basic cylinder. While still soft, use a flat edge tool — a ruler, a flat clay rib, or a straight craft knife blade — to press flat angled planes into the exterior surface.

Press each facet plane firmly and cleanly using a straight tool held at a consistent angle. Work around the circumference, creating 8–10 flat facet faces that meet at angled ridges. The ridges between facets are what catch light and create the crystal effect.
The top and bottom of the cylinder remain flat and even. Only the exterior walls are faceted.
Bake. Paint in deep amethyst purple, emerald green, or smoky quartz gray. Dry-brush a small amount of silver or gold mica paint across the ridge lines — the metallic paint on the ridges is what creates the illusion of a polished gemstone surface.
Seal with gloss varnish for maximum gemstone-like shine.
Attach a striker strip to the base.
Budget Tip
Deep jewel-tone acrylic paint is inexpensive and one small bottle covers many holders. The mica ridge highlighting uses a tiny amount of metallic paint. Faceted holders photograph exceptionally well against dark backgrounds — the facets catch light dramatically in product photography.
Conclusion
A handmade clay match holder does something a plain matchbox never can — it makes a functional object worth looking at. Whether you prefer the clean lines of a matte black cylinder, the organic warmth of a wabi-sabi pinch pot, or the playfulness of a character face with matches for hair, there is a design in this guide that suits the way you decorate your home. Every single design here is achievable with basic clay tools, an affordable block of polymer or air-dry clay, and an afternoon of making. Start with the form that appeals to your existing home style and make one holder first. Place it beside your favorite candle and see how much that single handmade detail changes the feel of the corner. Once you see it, making more becomes easy to justify. Pick up your clay and make the candle corner you have been wanting to style for a while.



